Note that you need Expression Blend 2 with .NET 3.0 installed.
Introduction
In this tutorial, I'm going to explain how to draw and design a Commercial Software Box using Expression Blend 2. It is only XAML code. By the end of this tutorial, you'll know how to draw and design a commercial software box using Expression Blend 2.
Background
Get some basic knowledge of Blend 2 from: .NET 3.0 WPF Tools && Examples.
Tutorial
Step 1: Select Pen from the Toolbox, draw the path Front layouts of the Software Box. Customize the Fill color of the Front to LinearGradient as following. Perform BrushTransform so that the gradient is parallel to the side of the Front.

Step 2: Select Pen from the Toolbox, draw the path Side layouts of the Software Box. Customize the Fill color of the Side to LinearGradient as follows. Perform BrushTransform so that the gradient is parallel to the side of the Side.
Step 3: Using a Paint .NET, design the commercial front and side image to be displayed on the software box. You can set the background to transparent and save them as PNG format.
Step 4: You can add the side and front images to your Expression Blend project. You can add the images to your project by select "Add Existing Item".
Step 5: Select on the LayoutRoot, then drag and drop the image from Projects Tree to the Designer. Resize the image, then, select "Make Image 3D".
Step 6: Select on the Front3D 3D image model, then customize the 3D rotation of the front image to fit the front layout of the software box.
Step 7: In order to make a reflection for the software box, select on the Front 3D model, perform a Flip Y-Axis transform.
Step 8: Then continue with a Translate-Y transform. Select clip to bound in order clip your desired reflection bound. You can repeat the same concept for the Side.
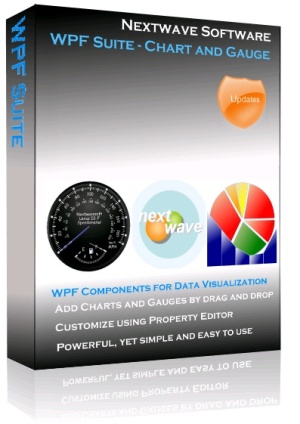
Step 9: Finally, you have the commercial software box.
View More "How to Blend" Tutorials
History
- 24th December, 2008: Initial post


 General
  News
News  Suggestion
  Question
  Bug
Bug  Answer
  Joke
Joke  Praise
  Rant
Rant  Admin
Admin 


