
Multicloud Infrastructure as Code with ARM Templates and Terraform - Part 2: Multicloud IaC with Azure and Terraform
5.00/5 (1 vote)
How to deploy your own simple multicloud environment hosted on Azure and DigitalOcean
In the previous article, we discussed the benefits of supporting multicloud and the difficulties it can introduce. Deploying to multicloud environments challenges DevOps teams who have already invested time and resources into fine-tuning their Infrastructure as Code for one environment.
If your application currently runs on Azure, the chances are good that you’re using Azure Resource Manager (ARM) templates, which only work with Azure, to automate infrastructure tasks. However, the good news is that adopting multicloud for your application is probably not as complicated as you might think, as ARM templates also work in multicloud scenarios with Terraform.
In this article, we’ll walk through using Bicep and ARM templates together to deploy a simple Linux virtual machine for Azure. Then we’ll use Terraform to deploy a similar Linux virtual machine to a DigitalOcean droplet and combine them into a single Terraform that can deploy virtual machines to both cloud platforms simultaneously.
Here’s a link to the IaC code we will use today.
Requirements
Before we start, you’ll need the following:
- An Azure subscription. If you don’t have one, you can create a free account.
- A DigitalOcean Account
Once you’re ready, create a new project folder and open a terminal or command prompt window to it.
Deploying a VM to Azure with Bicep and ARM
Bicep is a declarative IaC language that builds into ARM templates. It’s more concise, easier to read, and provides a way to easily validate a cloud’s configuration before running tasks.
We’re going to use a Bicep file to generate an ARM template and deploy a simple virtual machine on Azure.
Configuring Azure
First, make sure that you have downloaded and installed the Azure CLI. You use this to deploy the ARM template to your Azure account.
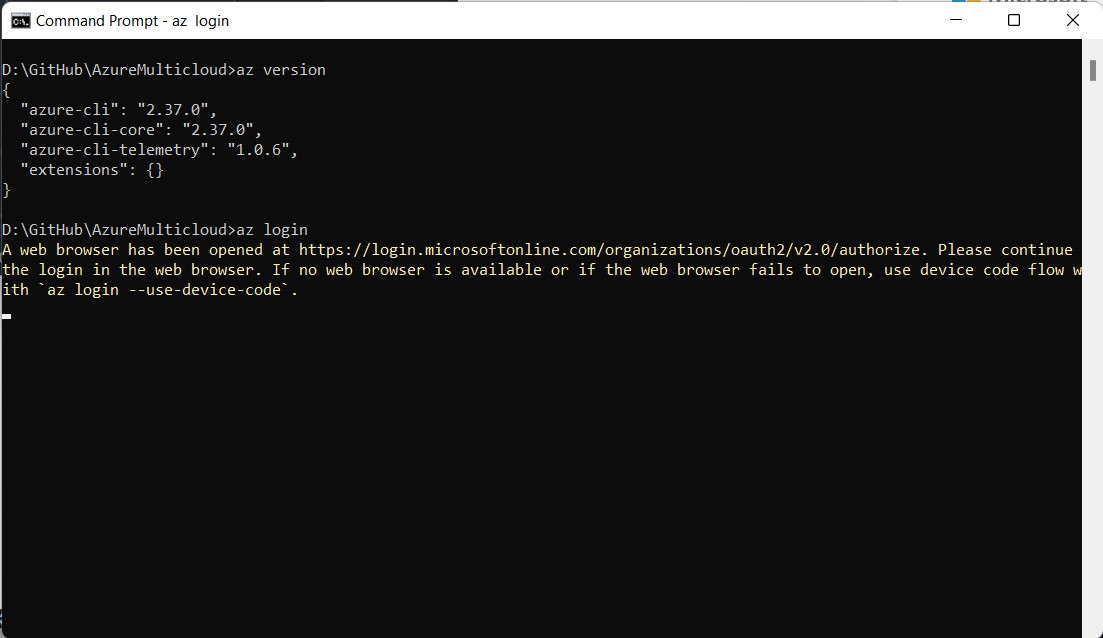
You can check using the command az version.

Next, log in to your Azure account with the following command: az login.
This opens a webpage to log in with your Azure credentials.
Once you’ve logged in, you’ll need to get the ID of your Azure subscription to set it as the active subscription in the CLI.
Do this by listing your Azure accounts with this command:
az account list
Then setting the current subscription:
az account set –subscription <YOUR-SUBSCRIPTION-ID>

To complete the configuration, create an Azure resource group under which the VM will deploy. We can use a name such as “armTest,” and the region can be set to “eastus.”
az group create --name armTest --location eastus

Generating an ARM Template from a Bicep File
Now that we have Azure set up, we’re ready to introduce IaC to create a simple VM. We’ll use the Simple Linux VM Bicep file from Azure QuickStart Templates for this tutorial. Download it here and save it to your project folder.
This Bicep file prompts for two parameters, adminUsername and adminPasswordOrKey, and configures a small Ubuntu instance with a virtual network.
We can now build the Bicep file into an ARM template by running the following command:
az bicep build --file main.bicep
This generates the ARM template file in the same directory as main.json.

Deploying the ARM Template to Azure
Let’s use the generated ARM template to deploy the VM to Azure.
Run the following command and when prompted, enter in an admin password that you would like to use to log into the VM via SSH:
az deployment group create --resource-group armTest
   --template-file main.json --parameters adminUsername=TestAdmin


Testing the Virtual Machine
After the deployment is complete, you may need to scroll up to the “outputs” section to find the hostname and the SSH command. This is the command we’ll use to connect directly to the virtual machine.


Cleaning Up
After a successful test deployment, we can delete the virtual machine from Azure to free up those resources on the Azure subscription. To do this, run the group delete command to delete all resources within that group:
az group delete --name armTest

Congratulations! Now you’ve used a Bicep file to deploy to the cloud on Azure!
Deploying a Virtual Machine to DigitalOcean using Terraform
Terraform is a popular open-source Infrastructure as Code tool that supports various cloud providers including Azure and DigitalOcean.
Next, we’ll create a Terraform to deploy a Linux Virtual Machine like the one we deployed on Azure onto a DigitalOcean droplet.
Configuring Terraform
Start by downloading the Terraform command-line tool and extracting it to the project folder.

Next, create a file named main.tf and paste the following code inside:
terraform {
  required_providers {
    digitalocean = {
      source  = "digitalocean/digitalocean"
      version = "~> 2.0"
    }
  }
}

variable "do_token" {
  default = "YOUR_ACCESS_TOKEN"
}

provider "digitalocean" {
  token = var.do_token
}

resource "digitalocean_droplet" "web-1" {
  image = "ubuntu-18-04-x64"
  name = "web-1"
  region = "nyc3"
  size = "s-1vcpu-1gb"
}
This code adds DigitalOcean as a required provider, sets the access token from a variable, and defines a small Ubuntu instance with the name web-1 in the nyc3 region.
Now, open your DigitalOcean API Dashboard page and create a personal access token by clicking Generate New Token, specifying a Token Name, and clicking Generate Token. You can also change the Expiration option to No expiry if you’d like to use the token for an extended period. Please remember to keep this token secure.


Inside the main.tf file, replace the “YOUR_ACCESS_TOKEN“ value in the code with the generated token. This is the access token Terraform will use to deploy the VM to your DigitalOcean droplet.

Deploying the Terraform to DigitalOcean
From the terminal window, run terraform init to initialize the project folder. This will read the main.tf file and prepare the directory with a Terraform lock file.

We can now test our Terraform with this command:
terraform plan
The code snippet above performs a dry run and reveals what differences exist between the local Terraform configuration and the deployed infrastructure. Since we have not deployed anything yet, it should show that there is one virtual machine to add.

When everything looks good, try deploying the VM by running the following command:
terraform apply


Testing the Virtual Machine
With the resource added to DigitalOcean, the web-1 droplet should now exist on your DigitalOcean project dashboard with the public IP address. This is the address that you can use to directly connect to the VM if you want. For now, let’s connect using the Web Console.

Click the … button and select Access console to get to the Droplet console page.

Click Launch Droplet Console to SSH into the virtual machine.

This will launch the Web Console to the instance and ask you to change the root password.
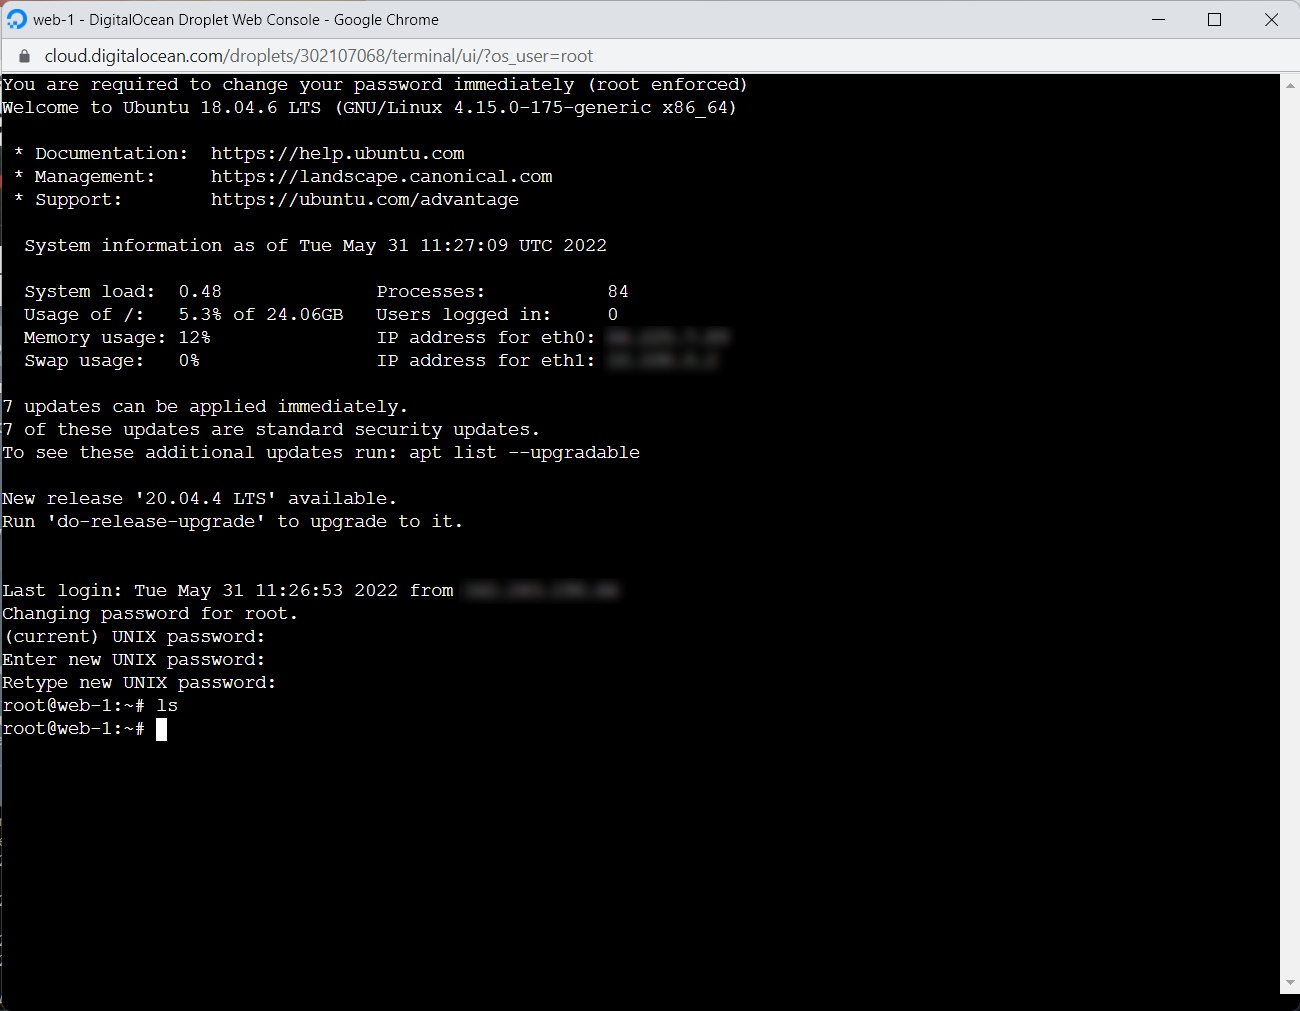
Be sure to check your inbox for an email from DigitalOcean for your temporary root password.
Cleaning Up
Because Terraform maintains a diff between the local infrastructure code and the deployed cloud environment, we can remove this droplet by simply removing the list of resources within main.tf. Comment out the resource with hash symbols (#), like this:
#resource "digitalocean_droplet" "web-1" {
#  image = "ubuntu-18-04-x64"
#  name = "web-1"
#  region = "nyc3"
#  size = "s-1vcpu-1gb"
#}
Now, when you run terraform apply, it will destroy the VM from your DigitalOcean account.

Deploying Your Multicloud Environment Using Terraform
It’s time to put our ARM template and Terraform together.
Because we’re already logged into the Azure CLI, we don’t need to specify Azure credentials to Terraform this time.
Modifying Terraform for Multiple Clouds
First, open main.tf and add Azure as a required provider alongside DigitalOcean, like this:
terraform {
  required_providers {
    digitalocean = {
      source  = "digitalocean/digitalocean"
      version = "~> 2.0"
    }
    azurerm = {
      source  = "hashicorp/azurerm"
      version = "3.8.0"
    }
  }
}
Specify the Azure provider and the two parameters, adminUsername and adminPasswordOrKey, as variables at the bottom of the file. This prompts the user for the password parameter at deployment time the same way that the ARM template did.
provider "azurerm" {
  features {}
}

variable "adminUsername" {
  type = string
  default = "TestAdmin"
}

variable "adminPasswordOrKey" {
  type = string
  sensitive = true
}
And finally, we can define the resource and load the ARM template we created previously as a file to template_content.
resource "azurerm_resource_group_template_deployment" "web-1" {
  name                = "web-1-deploy"
  resource_group_name = "armTest"
  deployment_mode     = "Incremental"
  parameters_content = jsonencode({
    "adminUsername" = {
      value = var.adminUsername
    }
    "adminPasswordOrKey" = {
      value = var.adminPasswordOrKey
    }
  })
  template_content = file("./main.json", )
}
Deploying Terraform to Azure and DigitalOcean
Before we deploy, we must make sure we have created the Azure resource group.
If you deleted it during an earlier section of this tutorial, run az group create –name armTest –location eastus again to recreate the resource group.
Now, run terraform init so that it registers Azure as a required provider.

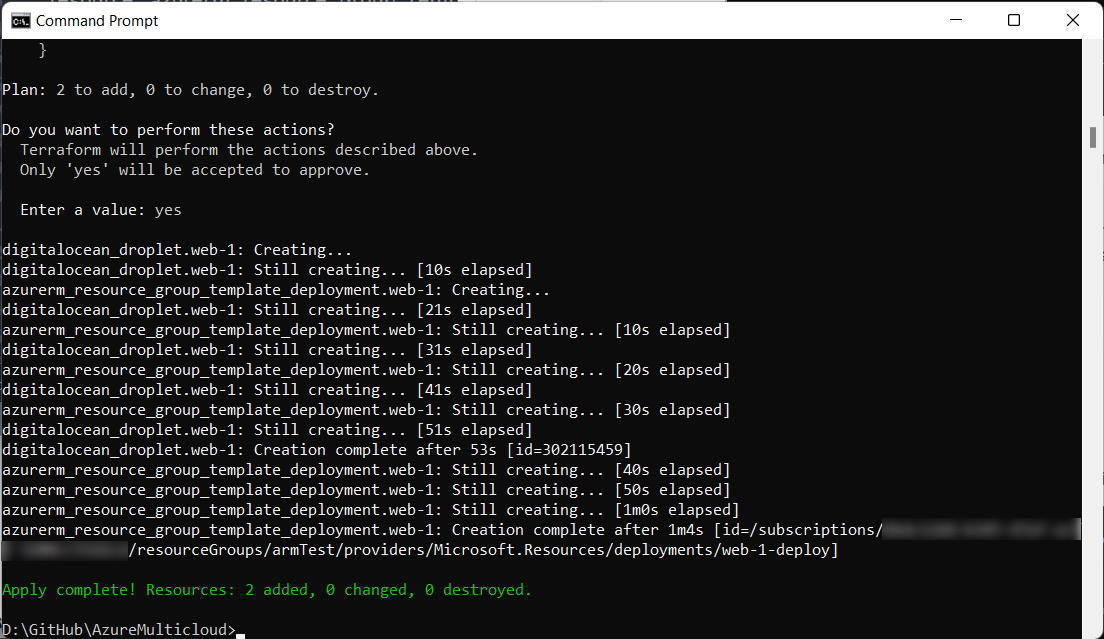
We can now test run our configuration with terraform plan to see if it recognizes both virtual machines as a new resource.
Don’t forget to uncomment the DigitalOcean resource block in the Terraform.

Lastly, run terraform apply to run the Terraform and create both environments at the same time.
When everything is complete, you can test your deployed environments by connecting to the virtual machines through SSH just as you did earlier for the Azure and DigitalOcean VMs.
Final Cleanup
To wrap up, we’ll clean up resources created by the Terraform in full tear-down form by running the command terraform destroy.

And that’s it! You have successfully deployed and decommissioned a multicloud configuration using Infrastructure as Code.
What’s Next
In this article, you learned to deploy your own simple multicloud environment hosted on Azure and DigitalOcean. Keep in mind that Terraform can have more than only these two providers, but many others such as AWS, Google Cloud Platform, Kubernetes, and Alibaba Cloud as listed here. If you want to check out this project's full code, download it here.
Now that we have infrastructure code with Terraform for this multicloud configuration, let’s push it to a GitHub repository and automate this like a true DevOps member. Learn how in the final part of this series.
To learn more about how to secure, develop, and operate infrastructure, apps, and Azure services anywhere, check out our resource Azure Arc.