
From Soup to Nuts with the Surface SDK 2.0
A look at the new Surface SDK 2.0 that was recently released by Microsoft
Introduction
With the Microsoft® Surface® 2.0 SDK, you can easily create applications to take advantage of the next generation Surface computing device or any Windows touch-enables devices (defined by Microsoft).
Links worth checking out (thanks to Luis Cabrera):
- Microsoft® Surface® 2.0 SDK and Runtime
- Microsoft® Surface® 2 Development Whitepaper
- Microsoft® Surface® 2 Design and Interaction Guide
- Microsoft® Surface® 2 Hands-on Labs
- Microsoft® Surface® Migration Power Toy
- MSDN Documentation
- MSDN Forums
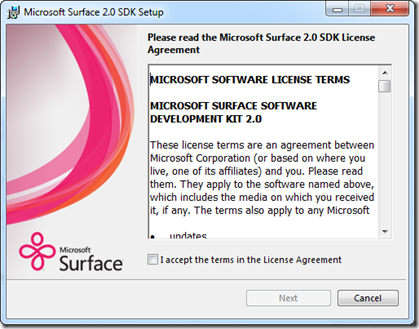
Getting the SDK Installed
After downloading the Surface 2 SDK, double click the installer on the SDK to get the ball rolling.


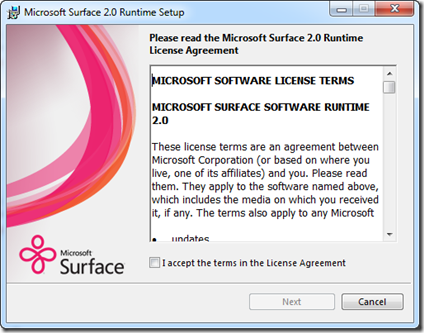
Getting the Runtime Installed
Once that is complete, then double click the installer for the Surface 2.0 Runtime.


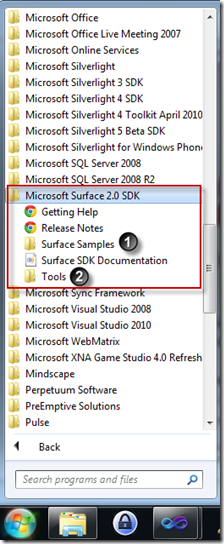
A Few Things to Note After Installing It
Hit your Start button and go to your programs and navigate to the Microsoft Surface 2.0 SDK. You will notice the normal “Getting Help” and “Release Notes”, but it also contains Surface Samples and Tools.
Surface Samples
After clicking on that folder, you will see a Surface Code Samples.zip file.
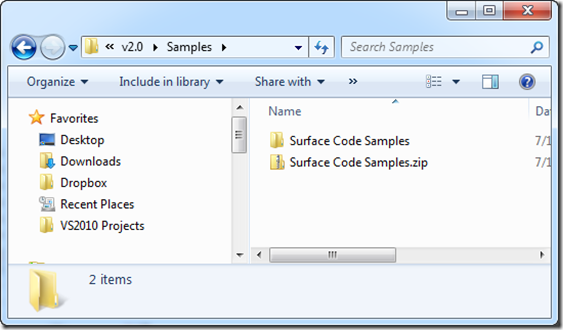
Go ahead and extract the zip file and you will notice the following sample project exists.
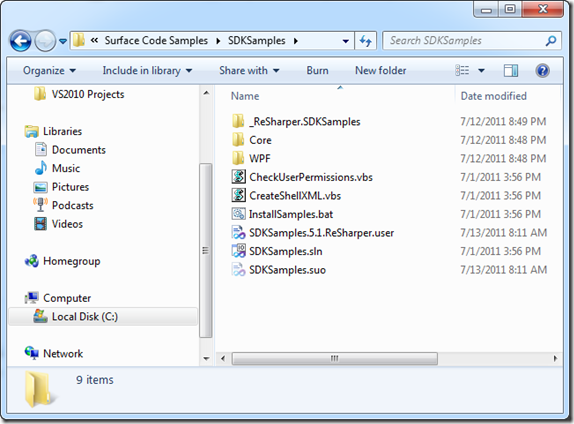
Once loaded into Visual Studio 2010, you will see 14 projects exist inside of the solution.
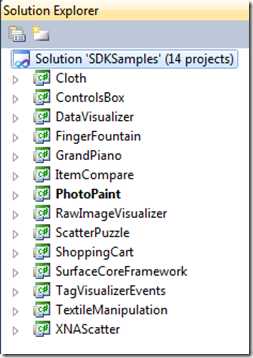
Go ahead and set one of them as your “Startup Project”.
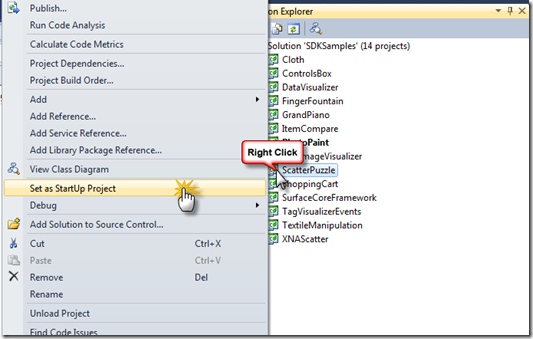
You can now use your mouse or a touch-enabled monitor to interact with the application. You also have the full source code, so you can manipulate the application all you want.
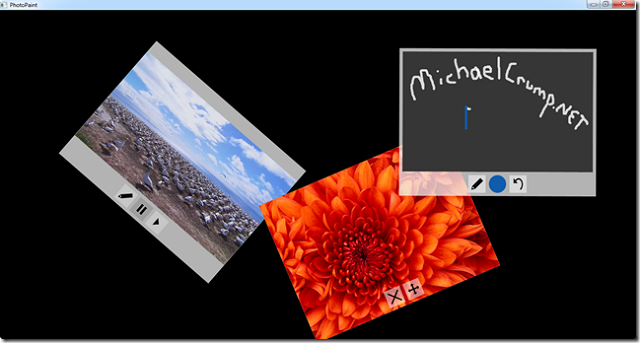
They have several other great examples of what the Surface 2.0 SDK is capable of.
The Tools Folder
Inside the tools folder, you will find the following applications:
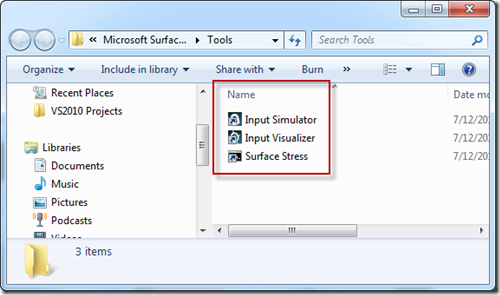
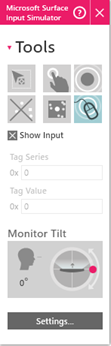
Input Simulator - Simulate touch input and supported hardware parameters.
According to the docs (updated now for version 2.0):
Surface Simulator replicates the user interface and behavior of a Microsoft Surface unit that is in user mode. Surface Simulator has access points, Launcher, and the loading screen. When you start an application in Surface Simulator, the application displays like it is on a Microsoft Surface unit.
You can use Surface Simulator to evaluate how an application and its user interface respond to basic input. For example, if you simulate a painting application and if you touch multiple colors, one at a time, and then add the colors to a mixing bucket, you can test the logic of the application and how well it mixes the colors by using the touch-based interface.
Surface Simulator runs with the appearance and functionality of a Microsoft Surface unit in user mode (the way that it appears to users). You can switch applications by using Launcher and the access points that display on the Launcher screen and the applications.
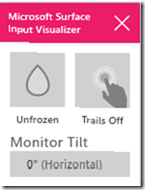
Input Visualizer - Display input data on top of a Microsoft Surface application.
According to the docs:
The Input Visualizer tool enables you to see the contact data that the Microsoft Surface Vision System returns in the context of your application. This tool runs on top of your application and displays information about the contacts that the input system detects.
Input Visualizer can help you test and debug the following scenarios:
- Accidental input: Track the accidental activation of Microsoft Surface controls from palms, forearms, and other objects by seeing when these controls detect contacts.
- Contact tracking: Determine what gestures are lost as contacts when users are dragging content in Microsoft Surface applications. You can use the fade away feature of Input Visualizer for this type of tracking.
- Input hit-testing: Investigate where hit-testing occurs by freezing the user interface of Input Visualizer, lifting contacts, and seeing where their centers are reported.
Input Visualizer is installed with the Microsoft Surface SDK and runs only on Microsoft Surface units. If you are developing on a separate workstation, Surface Simulator provides contact visuals, reducing how much you need a visual representation of input.
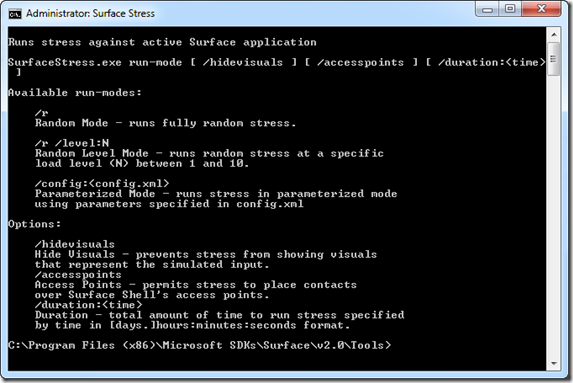
Surface Stress - Open a command prompt window to run stress tests against a Microsoft Surface application.
According to the docs:
The Surface Stress tool enables you to test the stability and robustness of your Microsoft Surface application by delivering multiple, simultaneous contacts to your application in a random way. Surface Stress generates all four types of contacts: fingers, blobs, byte tags, and identity tags.
Surface Stress is included with Microsoft Surface SDK 1.0 SP1. By default, the Surface Stress executable file (SurfaceStress.exe) is located in the C:\Program Files\Microsoft SDKs\Surface\v1.0\Tools\SurfaceStress folder, and a shortcut to Surface Stress appears in the Start menu under the Microsoft Surface SDK entry.
Let’s create a new project.
Now that you have learned how to download and get started with it, it is time to actually create an application. Go ahead and fire up Visual Studio 2010 and begin a new project. Look for Surface then v2.0.
You will notice that you have 2 templates to start with:
- Surface Application (WPF)
- Surface Application (XNA Game Studio 4.0)
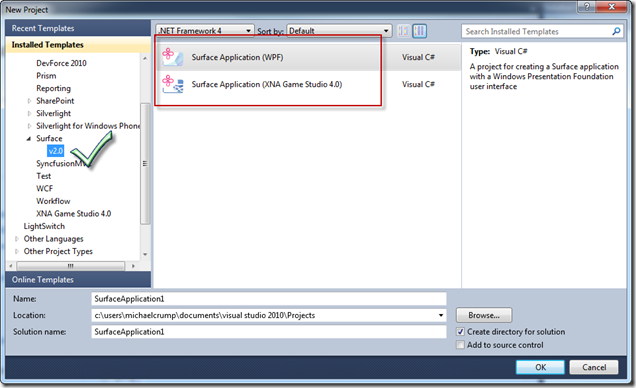
We are only going to focus on the Surface Application (WPF).
Go ahead and give your application a name and hit OK.

At first glance, you will realize this is just a WPF application. The folder structure looks just like what we would expect for a WPF application except that you have a “Resources” folder, a .xml document and MainPage.xaml is now called SurfaceWindow1.xaml.
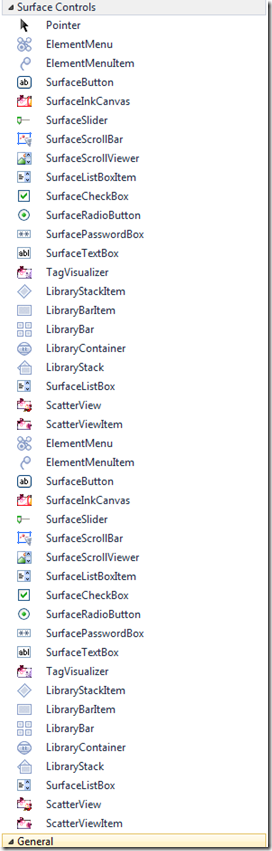
Let’s go ahead and take a look at the Toolbox. What we are most interested in is the “Surface Controls”. As you can see from this long list, there is a lot of Surface specific controls at our disposal right off the bat.
Let’s go ahead and use the “SurfaceInkCanvas”. So drag and drop it onto the SurfaceWindow1.xaml file.
Make sure your XAML looks very similar to the following:
<s:SurfaceWindow x:Class="MichaelSurfaceApplication.SurfaceWindow1"
    xmlns="http://schemas.microsoft.com/winfx/2006/xaml/presentation"
    xmlns:x="http://schemas.microsoft.com/winfx/2006/xaml"
    xmlns:s="http://schemas.microsoft.com/surface/2008"
    Title="MichaelSurfaceApplication">
  <Grid>
        <s:SurfaceInkCanvas Name="SampleInkCanvas"
	HorizontalAlignment="Stretch" VerticalAlignment="Stretch" >
            <s:SurfaceInkCanvas.DefaultDrawingAttributes>
                <DrawingAttributes Color="#FF808080"/>
            </s:SurfaceInkCanvas.DefaultDrawingAttributes>
        </s:SurfaceInkCanvas>
    </Grid>
</s:SurfaceWindow>
Now go ahead and run your application and you should get the following screen. Go ahead and draw something on the screen and then close the window.
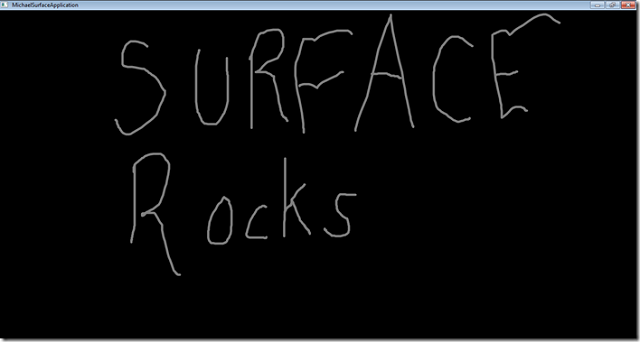
Congratulations! You just created your first Surface 2.0 application while actually writing no code. While you are probably testing it on your laptop or desktop, this application would actually run on a Surface 2 Unit! Very cool stuff indeed.
Conclusion
The Surface is very cool technology and I am planning on investing a lot of time into it and other things such as Kinect. Microsoft really got it right with the Surface 2.0 SDK. I think that this is possibly the best SDK release Microsoft has ever been a part of. The documentation is excellent, the samples are a plenty and it’s just plain easy to build your first application. Now if only I had an actual Surface 2 table in my house to play with, then I would be really happy.