
Hosting ASP.NET WEB API to Azure Service Fabric using Containers
5.00/5 (2 votes)
How to host ASP.NET Web API to Azure Service Fabric using containers
Introduction
In this article, we will be hosting ASP.NET WEB API to Azure Service Fabric by the following three steps:
- Create ASP.NET Web API
- Create a Docker image locally for ASP.NET WEB API and push it to Docker hub
- Create container using image and publish it to Azure Service Fabric cluster
Prerequisites
A development computer running:
- Visual Studio 2017
- Service Fabric SDK and tools.
- Docker for Windows. Get Docker CE for Windows (stable). After installing and starting Docker, right-click on the tray icon and select Switch to Windows containers. This is required to run Docker images based on Windows.
1. Create ASP.NET Web API
- Visual Studio -> File -> New Project -> ASP.NET Web Application

- Select Web API

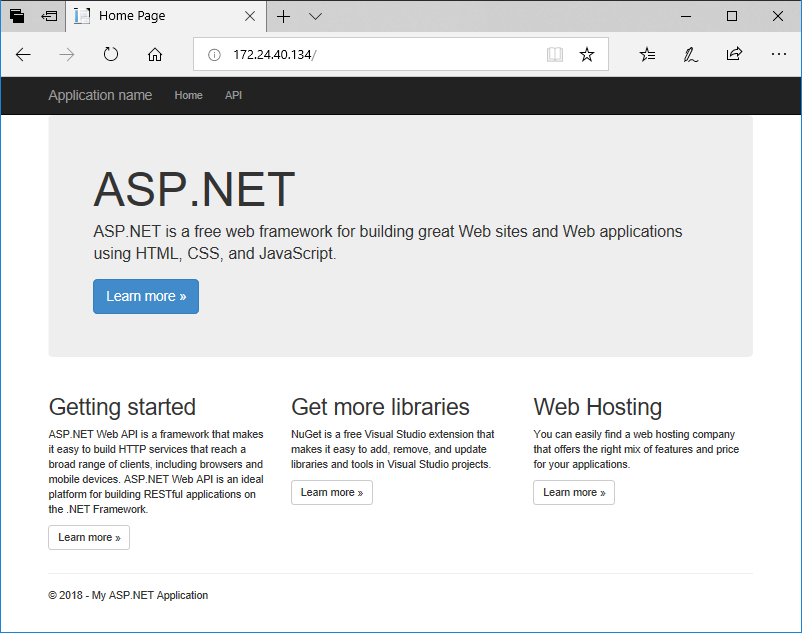
- Browse the application and you will be able to see sample WEB API running on the browser.

2. Create a Docker Image Locally for ASP.NET WEB API and Push it to Docker Hub
- Here comes the interesting part when you need to create a Docker image (based on Windows). So, let's first create a docker file inside the solution. Add a new file called DockerFile in the project and add the below lines:
FROM microsoft/aspnet:4.7.1-windowsservercore-1709 ARG source WORKDIR /inetpub/wwwroot COPY ${source:-obj/Docker/publish} . - The above Docker file instructs to copy all the files from the current project publish folder to the working directory inside the container.
- So now, you have the docker file; you can build an image via docker build from PowerShell (change directory to the location where the docker file is created).
- Give it a name like apiimage/aspwebapi' and optional tag like '
latest'.docker build -t apiimage/aspwebapi:latest


- Once done, you can execute the
docker imagescommand from PowerShell to check that the image is created.docker images

- Run the image locally using the below command:
docker run -d –name aspwebimage apiimage/aspwebapi:latest

- Run the following command to check your running local image:
docker ps

- Run the following command to get IP of local docker image:
docker inspect –format=’{{range .NetworkSettings.Networks}}{{.IPAddress}}{{end}}’ [Container ID]
- Browse the IP Address to check whether the docker image hosted in docker is running:
- Now, you have the image on your local machine. So you need to publish it to some place from where Azure Service Fabric can download or rather anyone else can download and use your app. You can either publish it to public docker hub repository or publish it to Azure Container repository.
- Follow the steps given below to publish to your repository.
- docker login --username docker4asf --password ************
- docker push docker4asf/apiimage


- Once uploaded, you now have the image on the Docker Hub as shown in the below image. We can use this image to deploy our Service Fabric service.

3. Create Container using Image and Publish It to Azure Service Fabric Cluster
- File -> New Project(Cloud) -> Service Fabric Application

- Select Container, and provide image name

- Add port number in ServiceManifest.xml file as shown below:

- Add policies in ApplicationManifest.xml file as shown below:
<Policies> <ContainerHostPolicies CodePackageRef="Code" Isolation="process"> <!-- See https://aka.ms/I7z0p9 for how to encrypt your repository password --> <RepositoryCredentials AccountName="docker4asf" Password="**********" PasswordEncrypted="false" /> <PortBinding ContainerPort="80" EndpointRef="apiimageContainerTypeEndpoint" /> </ContainerHostPolicies> </Policies> EndpointRefin ApplicationManifest file must be the same asEndpointname from the servicemanifest.xml file.- Publish the application.

- Once the application is successfully published, it will be hosted in Azure Service Fabric cluster. Go to Azure Service Fabric cluster.

- Container application hosted in local cluster and created Endpoint as shown below:

- Browse the endpoint, and you can browse ASP.NET WEB API which is hosted in Azure Service Fabric.

Conclusion
In this article, we have learned how to host ASP.NET WEB API to Azure Service Fabric using containers.
Thank you for reading. I hope you liked my article.