
Using Azure API Management to Prevent Denial of Wallet Attacks
While it would be high near impossible to DDoS a solution running on a serverless platform (scaling would just continue to handle all the requests it needed to), somebody still has to pay for the execution.
I know, you’re probably thinking, “wait what? Denial of Wallet attacks?” Welcome to the world of serverless computing.
If you’re new to the arena, let me explain. With serverless computing, not only is the infrastructure abstracted away from you (aka PaaS), but even the platform is something you get to stop focusing on. So instead of worrying about instance sizes, manual or auto scaling, worker environments (SDKs, etc.) you simply. write. code.
As with most new technologies, though, this does come with a downside. While it would be high near impossible to DDoS a solution running on a serverless platform (scaling would just continue to handle all the requests it needed to), somebody still has to pay for the execution. Most (good) serverless implementations use what is often called “micro-billing” whereby you are billed only for each actual execution of your code. But if we think of this nefariously and I send a few thousand requests/second to your endpoints, guess what happens. Yup, one hefty bill. This has become known as a Denial of Wallet attack.
So, if we don’t have management over the platform, or the infrastructure, how can we protect ourselves?
Enter Azure API Management. With APIM, we can quickly & easily “gate” requests to any API endpoint. This means no matter which serverless provider you choose (Azure Functions, AWS Lambda, etc), you can still protect your pocketbook. Let’s have a look at how we can configure an APIM instance to do just this for our serverless platform of choice.
Assuming we’ve already created an HTTP-triggered Azure Function or HTTP-triggered Azure Logic App, we’ll have a URL that looks something like this:
https://prod-14.westcentralus.logic.azure.com:443/workflows/.../triggers/manual/paths/invoke?api-version...
While we could call this URL directly from our app, web site, or other process that ends up doing a couple of things:
- Tightly couples our app and our backend endpoint; this limits our ability to change to a new endpoint, service, provider, etc. later without impacting clients
- Exposes the URL to the outside world (JavaScript, etc.) which…
- Makes the URL (more) vulnerable to a Denial of Wallet attack
So, let’s “wrap” access to our function in an API Management endpoint.
First, go to your Azure Portal, click ‘New Resource’ and search for “API management”. Create a new APIM instance:

It’s worth noting, at the time of this writing, there is no free tier for APIM.
Once your APIM instance is deployed and activated, it’s time to configure our endpoints. In your APIM instance, go to the ‘APIs’ area on the lefthand side.
You’ll see here that we have a lot of options available to us to add a new API or wrap ones we’ve already. We can directly import our API definitions from Functions or Logic Apps, from an Azure App Service or other OpenAPI spec, or we can roll one from scratch just to name a few. To show how APIM works, for this exercise we’ll just create one from scratch so click ‘Blank API’ and fill it out as follows:
Display Name: My API
Name: endpoint
Description: Here is where a description for My API lives
Web service URL: https://requestb.in/1kzvq4a1
URL Scheme: Both
API URL suffix: safe-endpoint
Version? Yes
Products: Unlimited
Versioning scheme: Query string
Version Identifier: v1
Verison Parameter: api
If you watch the Base URL setting, you’ll see how it changed as you filled out the information. Even in doing this, you can see the features provided for you by APIM. The big one? Versioning! Click Create and let’s see what we get.
The Products setting we populate with the products that APIM gives us out of the gate. Namely, ‘Starter’ and ‘Unlimited’. You can see what these mean by going to the Developer Portal but for now let’s just move along. 
On the left side of the APIM portal, you now see ‘My API’ with an expandable arrow next to it. If we expand that arrow, we see that My API has already been given v1, leaving you free to iterate on this same API endpoint with new versions to your heart’s content.
But let’s get to the meat of this blog post – how do we make sure nobody DDoS’ our poor requestb.in endpoint via our APIM URL?
- Click My API’s v1 instance
- Click the ‘edit’ pencil on the Inbound Processing area; this is where we’ll add a policy regarding the rate at which we can call our API.
- Position your cursor below the
<base />tag under the<inbound>tag - Click “Limit call rate per key”
At this point, a template rule for limiting call rates is injected, and you have to fill out the parameters:
<rate-limit-by-key calls="number" renewal-period="seconds"
    counter-key="expression like @(context.Subscription.Id) or a constant string"
    increment-count="optional, by default = 1"
    flexible-retry-window="optional, by default = false"
/>
What this is defining is the # of calls per # of seconds, and how they track the calls. Starting with tracking by Subscription id is a good place and we don’t need to increment by any amount other than 1 and flexible retry windows also aren’t something we need for this demo, so the end result should look like:
<inbound>
    <base />
    <rate-limit-by-key calls="30" renewal-period="60" counter-key="@(context.Subscription.Id)" />
</inbound>
Which will limit our callers to 30 calls/minute based on the subscription ID they pass in the header Ocp-Apim-Subscription to our API.
Now, we applied this to every call to our API by adding this policy to the ‘All operations’ area. That’s fine. To test it, we need to define the HTTP operations available on the API, so let’s add a POST operation now, since requestb.in let’s us do that out of the box.
- Click ‘Add operation’
- Choose POST and enter
/for the resource path - Display Name, let’s just call it
post
This is just going to pass through any HTTP POST to our API to the requestb.in endpoint we defined. We should then be able to see it at https://requestb.in/1kzvq4a1?inspect.
Click ‘Save’ and flip over to the ‘Test’ area of our endpoint so we can make sure that calls to it are indeed piped through to requestb.in.
Choose the ‘post’ operation, and enter something trivial in to the Request Body area, like { "this" : "that" } then click ‘Send’.
You’ll get an error at this point saying you can’t have an empty Ocp-Apim-Subscription-Key header value. That’s because by default APIM instances are protected by this header value, and pass it through as context.Subscription which, if you recall, is what we’re keying off when we track the rate at which requests are coming in.
Additionally, this means nobody can hit the API behind your APIM instance without a subscription key of some sort – so you’re already protected. Before any call even gets to your code, it’s been gated by APIM.
How do we get an API key? Well, to do that, we have to treat ourselves as a developer. And you’ve probably already noticed the Developer Portal button at the top of the APIM interface. Go ahead and click it.
This is the public website you get for free just by using APIM. You can point developers here to sign up for your API and get their unique value for the Ocp-Apim-Subscription-Key header.
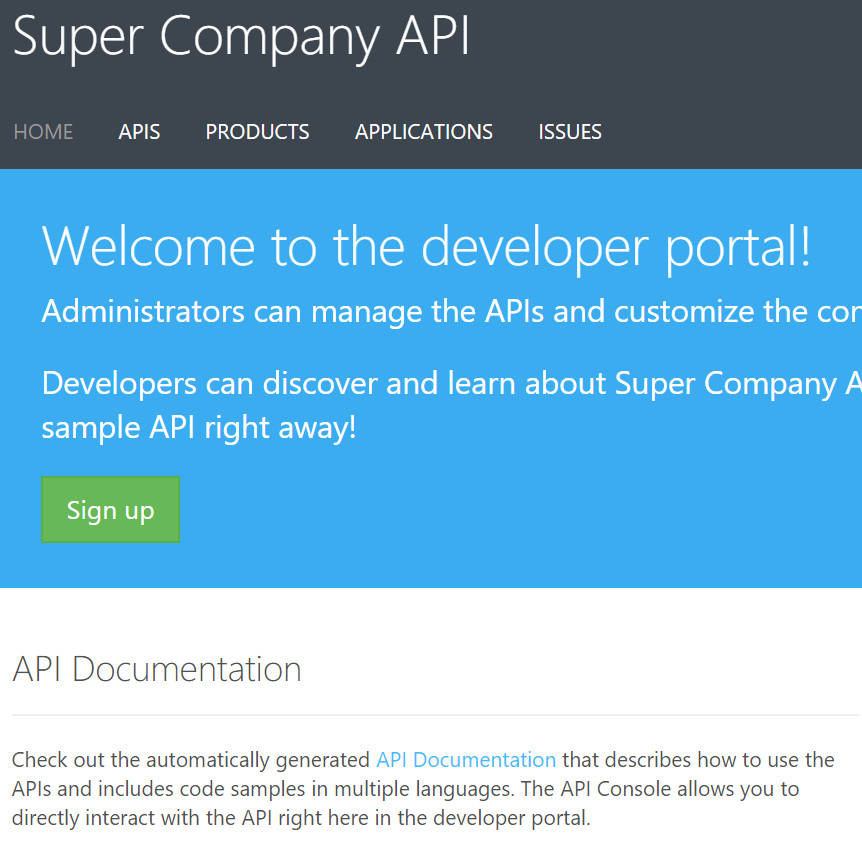
Note the other areas of this site. If you click ‘APIS’ or ‘API Documentation’, you get taken to automatically generated documentation for each endpoint of your API based on how you created them in the portal.
As an administrator, we have an instance of each of our “Products” namely “Starter” and “Unlimited”. If you recall when we placed the rate limit on our API, we had the option to choose a Product. This is what those pertain to. You can create additional ones elsewhere in the portal. To get our keys for each Product, click ‘Administrator’ in the upper right, and choose ‘Profile’.
Now you’ll see your portal and have access to your subscription keys. click ‘Show’ next to the primary key for the Unlimited subscription (because it’s not unlimited anymore since we placed an API-wide rate limit) and copy this key to use in the test interface.
Heading back to test, paste your key in for the value of Ocp-Apim-Subscription-Key, fill out the raw body of the request, and click ‘Send’ again.
This time you should get an HTTP 200 OK and if we head over to the ?inspect URL for our requestb.in instance we’ll see that our request came through!

And just like that, we’ve used APIM to rate-limit access to our requestb.in endpoint; an arbitrary API on the web!
You can read more about rate-limiting and the other policies available to you as an APIM user here.