
Build your own WebAPI using new ASP.NET 5 with EF and IdentityUser inside OSX
Build your own web-api using new ASP.NET 5 with EF and IdentityUser inside OSX
Hi there, This article is the continues of my previous Article . I would request you to read this first since all the configurations and other project settings have been explicitly described there. My intention is to develop a fully authorized web-api in asp.net 5. If you go through this entire article, i hope you can be able to develop your own web api. You can download the entire project Here
- Project creation
- List packages and Download necessary packages
- What is Identity User
- SQLite database migration through EF
- Configure Application DB Context in EF and Add sample model to database
- Add CompanyController
- Add Authorization
- Add AuthController and View
- Test the application
Project creation
Create your project directory and open Terminal. We will use Yomen to create our project template. In terminal goto the project directory and run
yo aspnet
command and use a basic web application type of template and give a name.
List packages and Download necessary packages
Now, our intention is to create a web api, right? So for that i need to include some packages. Lets add this to our project.json file as follows:

Some important packages are listed below with a description
    "Microsoft.AspNet.Identity": "3.0.0-rc1-final",
    "EntityFramework.Core": "7.0.0-rc1-final",
    "EntityFramework.MicrosoftSqlServer": "7.0.0-rc1-final",
    "EntityFramework.SQLite": "7.0.0-rc1-final",
    "EntityFramework.Commands": "7.0.0-rc1-final",
    "Microsoft.AspNet.Identity.EntityFramework": "3.0.0-rc1-final"
"Microsoft.AspNet.Identity"
We want to use already defined IdentityUser model class to store user credentials in it. And it has the basic operations that we need to manage a user/authenticate a user to the system.
"Microsoft.AspNet.Identity.EntityFramework"
This will provide us the model class of IdentiyUser and the work related to database operations.
"EntityFramework.Core": "7.0.0-rc1-final", "EntityFramework.MicrosoftSqlServer": "7.0.0-rc1-final", "EntityFramework.SQLite": "7.0.0-rc1-final", "EntityFramework.Commands": "7.0.0-rc1-final",
This is required to work with Entity Framework. Important part is, we are using EntityFramework.SQLite to work with SQLite database in Mac. Now we need to update/download our packages that we wrote here. Goto Terminal, type "dnu restore" which will restore/download all the necessary packages.
What is Identity User
"IdentityUser" Represents a default EntityFramework IUser implementation.So simple. If we use this, we really don't have to create any user table separately. All are there. We just need to use this with the necessary packages. There are some other helper classes are associated with this. "UserManager", "SignInManager"
SQLite database migration through EF
First of all, right click the project root and "create new file". Name the file as follows: "AuthDb.db". Next part is, we will be configuring the connection string and creating our application database context so that we can manage all the database operations/queries through this. Lets do that:
Configure Application DB Context in EF and Add sample model to database
Create several folder inside root directory. They are "Models", "ViewModels" and "Migrations".
Models
This folder will contain all the model class which will be mapped to our database tables including a Demo data generator.
ViewModels
The classes which will be using in our Controllers as well as our views will be here.
Migrations
Each time when we will do any changes in our models/tables/databases, we will let EF a command to do necessary migration of this changes. EF then will create the migration script as a form of classes and will store this directory. Right click "Models" directory and create a class "AppDbContext.cs" as follows:
using Microsoft.AspNet.Identity.EntityFramework;
using Microsoft.Data.Entity;
using Microsoft.Extensions.Configuration;
using Microsoft.Extensions.PlatformAbstractions;

namespace ServiceAuth
{
    public class AppDbContext:IdentityDbContext{

        public DbSet Companies{get;set;}

        //public IApplicationEnvironment appEnv {get;set;}

         //public IConfigurationRoot Configuration { get; set; }
        protected override void OnConfiguring(DbContextOptionsBuilder optionBuilder){
            optionBuilder.UseSqlite(@"Data Source = /Volumes/Development/Aspnet/FormAuthTest/ServiceAuth/AuthDb.db");
            base.OnConfiguring(optionBuilder);
        }
    }
}
Also need to define our Company entity as below:
using System.ComponentModel.DataAnnotations;

namespace ServiceAuth
{
    public class Company{

        [Key]
        public int Id{get;set;}
        public string Name{get;set;}
        public string Address{get;set;}

        public string WebAddress{get;set;}
    }
}
I also like to create a Helper class which will be using to generate our sample data.
using System.Collections.Generic;
using System.Linq;
using System.Threading.Tasks;
using Microsoft.AspNet.Identity;
using Microsoft.AspNet.Identity.EntityFramework;

namespace ServiceAuth
{
    public class Seeder{

        private readonly AppDbContext _context;
        private readonly UserManager _userManager;

        public Seeder(AppDbContext context, UserManager userManager){
            this._userManager = userManager;
            this._context = context;
        }

        public async Task GenerateSeedData(){
            if(!this._context.Users.Any()){
                for(int i=0; i < 2; i++){
                    var user = new IdentityUser{
                        UserName = $"user{i}",
                        Email = $"user{i}@gmail.com"
                    };

                    await this._userManager.CreateAsync(user, "Qwerty123!");
                }
            }

            if(!this._context.Companies.Any()){
                var companies = new List{
                    new Company{
                        Id = 1,
                        Name = "Selise",
                        Address = "Dhaka",
                        WebAddress = "www.selise.ch"
                    },
                    new Company{
                        Id = 2,
                        Name = "Company 2",
                        Address = "Dhaka",
                        WebAddress = "www.company2.com"
                    }
                };
                this._context.Companies.AddRange(companies);
                await this._context.SaveChangesAsync();
            }

        }
    }
}
Add CompanyController
Now, if you see the above data generation script, you see we have added some dummy data to our "Company" entity. So we will now create a "Company Controller" so that we can see this data through GET method. This is pretty simple.
   using System.Collections.Generic;
using System.Linq;
using Microsoft.AspNet.Authorization;
using Microsoft.AspNet.Mvc;

namespace ServiceAuth.Controllers
{
    [Route("api/[controller]")]
    //[Authorize]
    public class CompanyController:Controller{

        public CompanyController(AppDbContext context){
            this._context = context;
        }
        private readonly AppDbContext _context;

        [HttpGet]
        public IEnumerable GetCompany(){
            return this._context.Companies.ToList();
        }
    }
}
If you see this controller, you see i intentionally commented //[Authorize]. Ok, we are almost ready to execute this "GetCompany" method to see this data. Before doing this, we have to do some changes in "Startup.cs". Please recall, "Startup.cs" is the only configuration class that is used in a asp.net 5 types of application. All the configurations/modules/ middle wires are configured here so that it uses the asp.net 5 execution pipeline. The code is pretty much self-explanatory. See below
using System;
using System.Collections.Generic;
using System.Linq;
using System.Threading.Tasks;
using Microsoft.AspNet.Builder;
using Microsoft.AspNet.Hosting;
using Microsoft.AspNet.Http;
using Microsoft.AspNet.Identity.EntityFramework;
using Microsoft.Data.Entity;
using Microsoft.Extensions.Configuration;
using Microsoft.Extensions.DependencyInjection;
using Microsoft.Extensions.Logging;
using Microsoft.Extensions.PlatformAbstractions;
using Newtonsoft.Json.Serialization;

namespace ServiceAuth
{
    public class Startup
    {
        public Startup(IHostingEnvironment env, IApplicationEnvironment appEnv)
        {
            // Set up configuration sources.
            var builder = new ConfigurationBuilder()
                .AddJsonFile("appsettings.json")
                .AddJsonFile("config.json")
                .AddEnvironmentVariables();
            Configuration = builder.Build();
            Configuration["Data:DefaultConnection:ConnectionString"] = @"Data Source = /Volumes/Development/Aspnet/FormAuthTest/ServiceAuth/AuthDb.db";
        }

        public IConfigurationRoot Configuration { get; set; }

        // This method gets called by the runtime. Use this method to add services to the container.
        public void ConfigureServices(IServiceCollection services)
        {
            // Add framework services.
            services.AddEntityFramework().AddSqlite().AddDbContext(options => {
                options.UseSqlite(Configuration["Data:DefaultConnection:ConnectionString"]);
            });

            services.AddIdentity(config => {
                config.Cookies.ApplicationCookie.LoginPath = "/Auth/Login";
            }).AddEntityFrameworkStores();

            services.AddMvc().AddJsonOptions( options => {
                options.SerializerSettings.ContractResolver = new CamelCasePropertyNamesContractResolver();
            });


            services.AddTransient();
        }

        // This method gets called by the runtime. Use this method to configure the HTTP request pipeline.
        public void Configure(IApplicationBuilder app, Seeder seeder)
        {


            app.UseIISPlatformHandler();
            app.UseDefaultFiles();
            app.UseStaticFiles();
            app.UseIdentity();


            app.UseMvc(routes =>
            {
                routes.MapRoute(
                    name: "default",
                    template: "{controller}/{action}/{id?}");
            });

            seeder.GenerateSeedData().Wait();
            /*app.Run( async context => {
                await context.Response.WriteAsync(Configuration["Data:DefaultConnection:ConnectionString"]);
            })
            */                           ;
        }

        // Entry point for the application.
        public static void Main(string[] args) => Microsoft.AspNet.Hosting.WebApplication.Run(args);
    }
}
Until this, we really did not create any tables. Lets use a EF command to generate our database/tables. This is called database migration. This is also pretty simple. Use below command.
dnx ef migrations add "initscript"
followed by
dnx ef database update
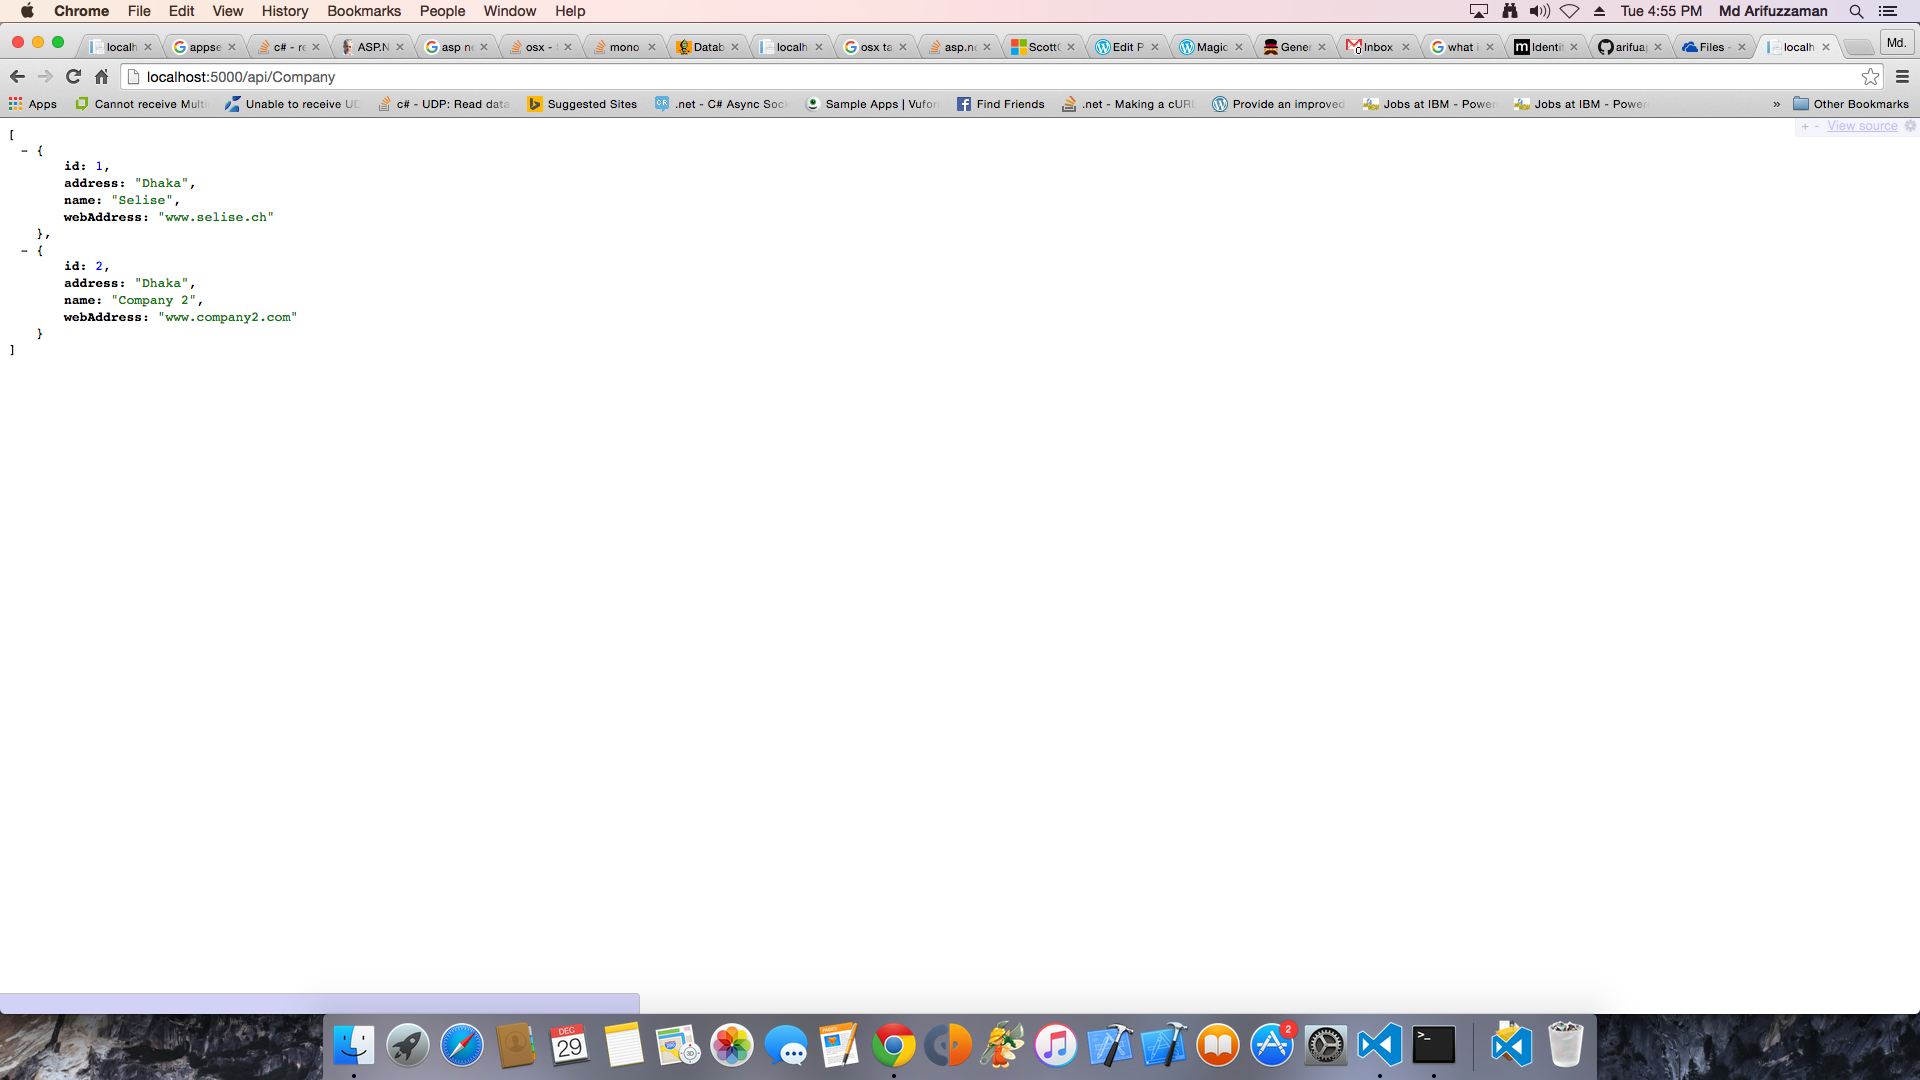
Awesome, after completing this command, you see some classes have been added in "Migrations" directory. Entity Framework makes our life so easy to manage this migrations. Hopefully we have done our migration successfully and our application is ready to serve our first web-api which will get back all companies informations. Goto terminal and type "dnx web". It will run the web server and host our application inside this through "http://localhost:5000". Open browser and type "http://localhost:5000/api/company". Thats it. Hope you will see the below page
Add Authorization
Our first web api is running without applying any authorization. Since we are not putting any credentials its running totally anonymously. Lets uncomment //[Authorize] attribute from "CommanyController" and see what happen? What the hell, its now going to "http://localhost:5000/Auth/Login" location to authenticate. Wait a minute, where does it get this path? Well, its defined inside our "Startup.cs" services.AddIdentity(config => { config.Cookies.ApplicationCookie.LoginPath = "/Auth/Login"; }).AddEntityFrameworkStores(); But still we did not implement any of this. So do this.
Add AuthController and View
In "Controllers" directory create a controller named "AuthController" and add the below method on it.
using System.Linq;
using System.Threading.Tasks;
using Microsoft.AspNet.Identity;
using Microsoft.AspNet.Identity.EntityFramework;
using Microsoft.AspNet.Mvc;
using ServiceAuth.ViewModels;

namespace ServiceAuth.Controllers
{
    public class AuthController:Controller{

        private readonly SignInManager _signInManager;
        private readonly AppDbContext _context;

        public AuthController(SignInManager signInManger, AppDbContext context){
            this._context = context;
            this._signInManager = signInManger;
        }

        [HttpGet]
        public IActionResult Login(){
            return View();
        }


        [HttpPost]
        public async Task Login(UserViewModel viewModel){


            if(ModelState.IsValid){
                var result = await this._signInManager.PasswordSignInAsync(viewModel.Username, viewModel.Password, true, false);

                if(result.Succeeded){
                    return Redirect("/api/Company");
                }
            }

            return View();
        }


        public async Task Logout(){
            if(User.Identity.IsAuthenticated){
                await this._signInManager.SignOutAsync();
            }
            return Redirect("/");
        }
    }
}
Here we have Login (get and post) method with a Logout method. Lets create our View of AuthController. Right click our Views directory and create another directory named "Auth". Inside this directory create a "Login.cshtml" and put the below html code
@model ServiceAuth.ViewModels.UserViewModel

<h1>Login</h1>

<div>@Html.LabelFor(m => m.Username) @Html.TextBoxFor(m => m.Username) @Html.LabelFor(m => m.Password) @Html.TextBoxFor(m => m.Password)</div>
Test the application
Pretty simple, right? Run again the application using "dnx web" and this time try to access "http://localhost:5000/api/company". It will now redirect you to "http://localhost:5000/Auth/Login". Put user name/password (That we have created as a part of our sample data generator) and press login. Voila !! you will see the company list now. Its totally under proper authorization now. Try to access the Logout method "http://localhost:5000/Auth/Logout" and again try to access "http://localhost:5000/api/company" and see what the consequences are. Bravo, we have just completed a complete web-api development with proper authorization. Hope you can use this knowledge in your own api development. Enjoy Note: I must admit, I have been inspired to write this blog from the this asp.net 5 tutorial.