
First Angular2 App with TypeScript and Visual Studio 2013
4.87/5 (15 votes)
Building first Angular2 app with VS2013 and TypeScript.
Introduction
Modern application development has gone through dramatic changes in the past few years with frameworks like Angular, ReactJs and others. With ES6 changes, Typescript and Angular2 we are seeing a new wave of changes coming to the web application development. This tutorial walks through a process of creating a basic Angular2 application using Visual Studio.
Background
This tutorial tries to set up an environment to build Angular2 apps using Visual Studio 2013 and in the process describes how different pieces come together for an Angular2 app . The tools and technologies used in this tutorial are
1) Visual Studio 2013 Community Edition with .NET 4.5
2) Angular 2
3) Typescript
4) NPM
Let's get started!
Installing TypeScript
This tutorial needs typescript 1.6.2 or later to be installed with your Visual Studio . You can download typescript for Visual Studio 2013 from here
https://www.microsoft.com/en-us/download/details.aspx?id=48739
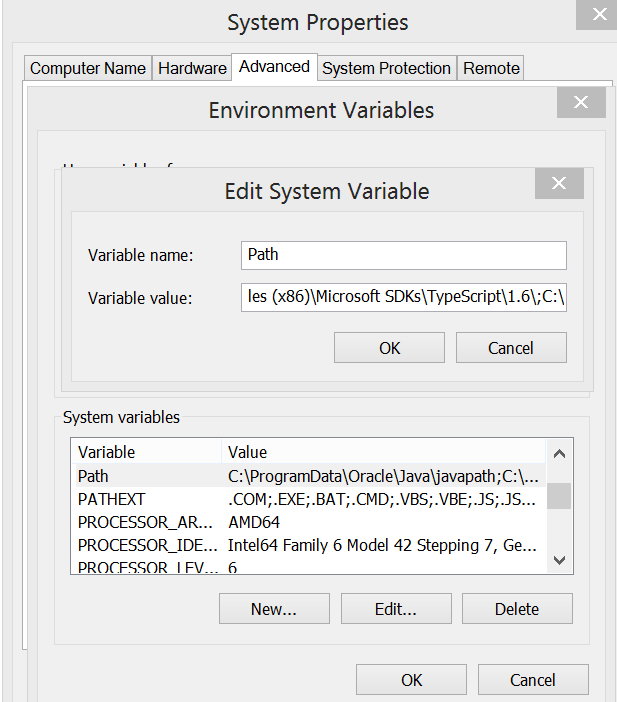
Once installed you can see the all versions installed at following location on your machine at the following location.
{Drive}\{Program Files Folder}\Microsoft SDKs\TypeScript\
You can verify the typescript version by typing the following command on command prompt.
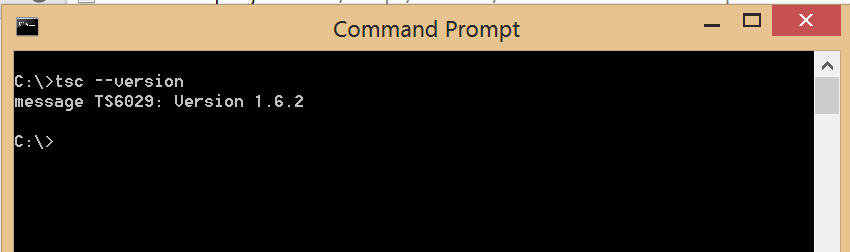
If you still do not see the correct version check the PATH environment variable to make sure it is pointing to the location of the latest version on your machine.
Installing Node.js/npm
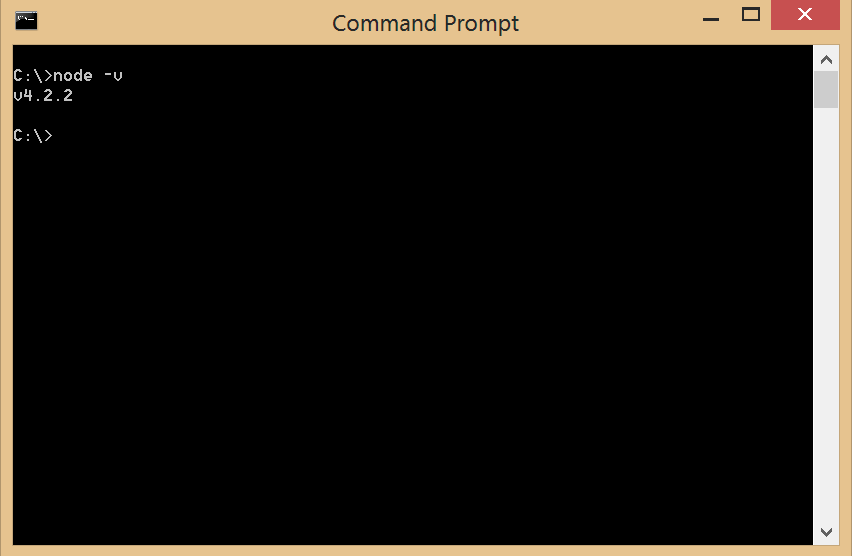
npm (Node Package Manager) is required for installing Angular2 . npm is installed as part of Node.js installation. You can download Node.js installer from the Node.JS site. Once installed you can type the following command to check the node js version installed.
npm -v
Setting Up Visual Studio Project
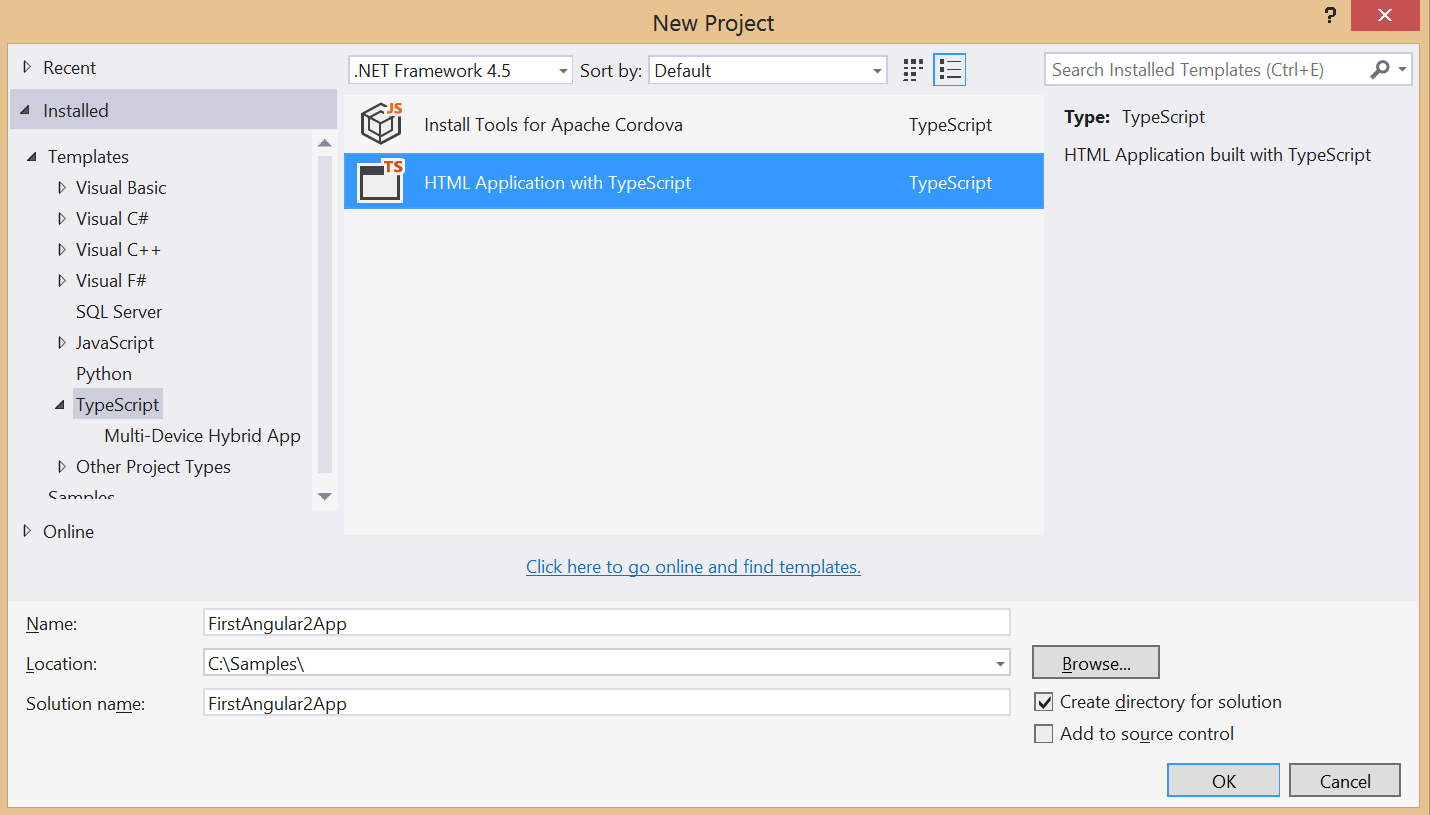
1) Launch you Visual Studio and create a new project. Select the HTML with TypeScript template.
2) The project will have index.html, app.ts and app.cs included in the project.
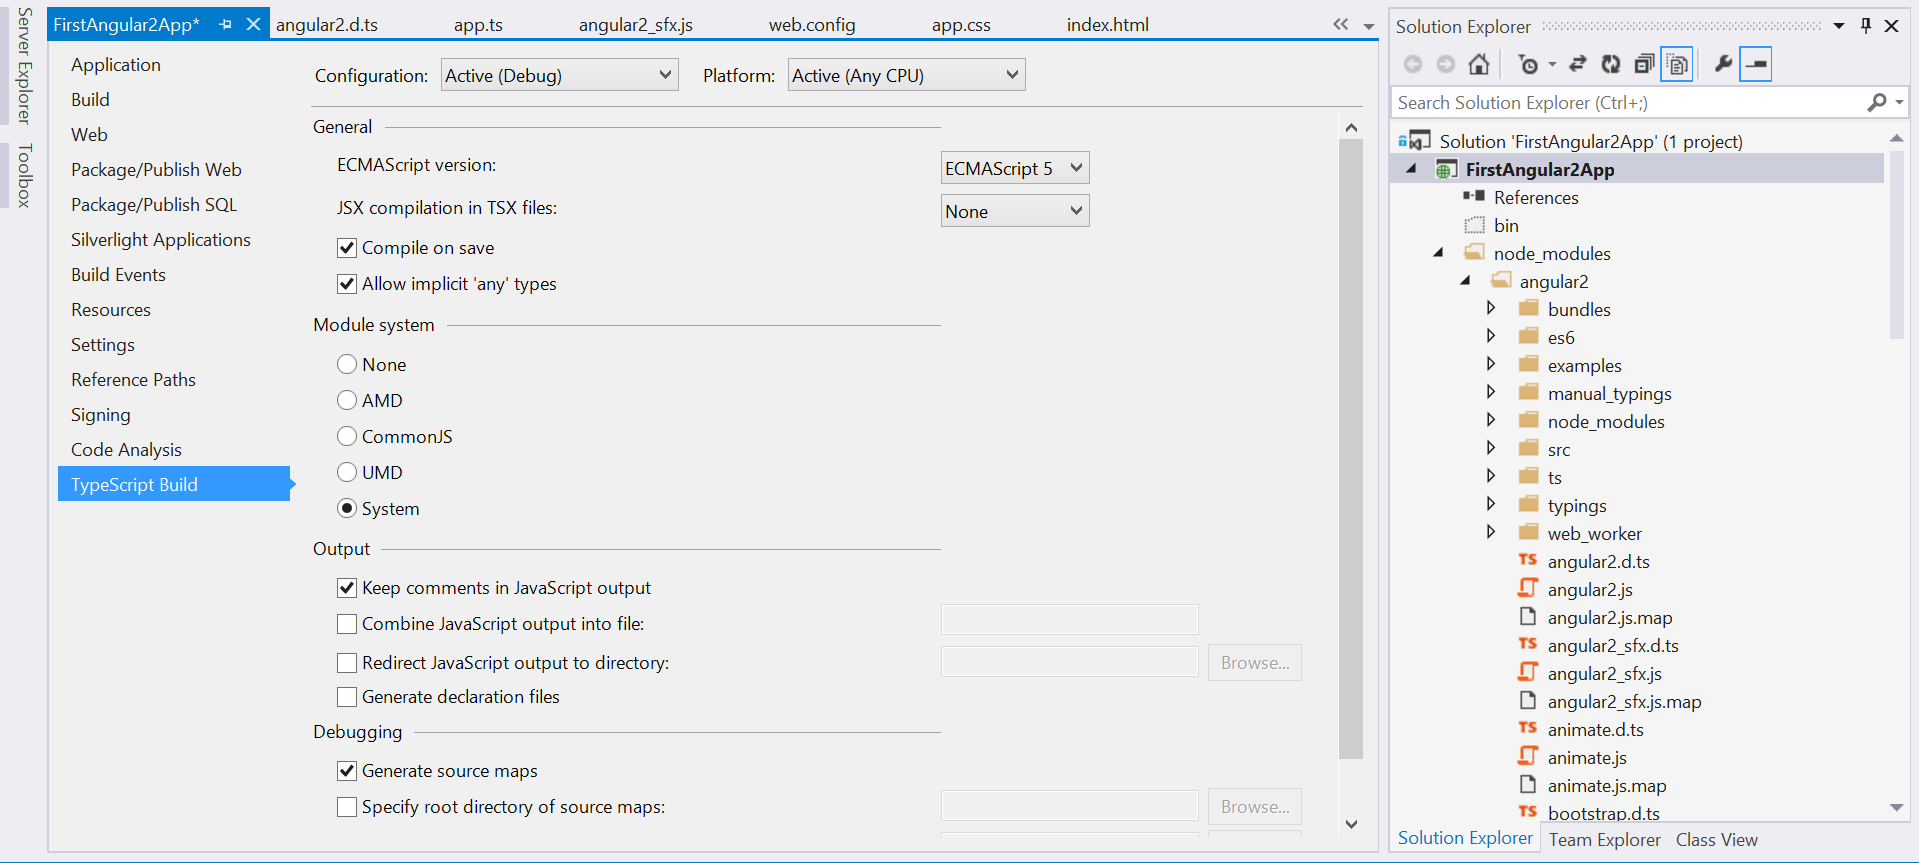
3) Under project properties update the TypeScript Build options to include module system. Angular2 exposes the API as modules so we will need a module handler to manage modules. We will be using systemjs for module loading. We will be installing it in next step.
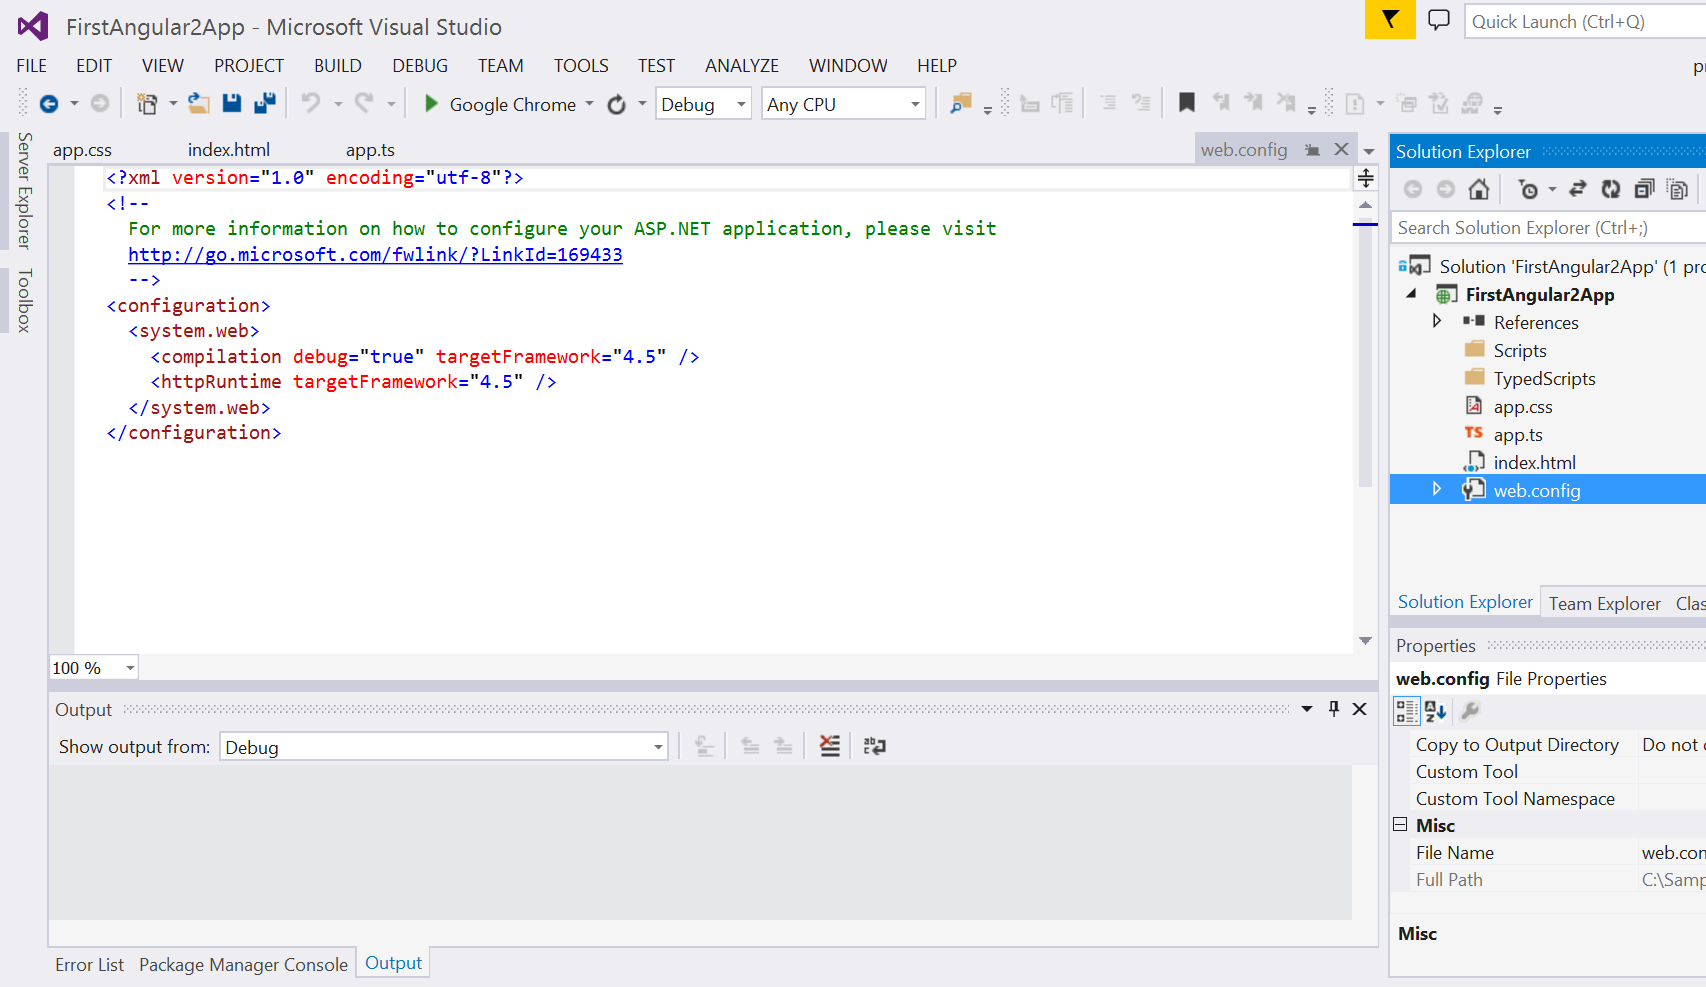
To avoid compilation errors related to Decorators (see below) we will have to turn on the experimentalDecorators flag for TypeScript compiler. You will have to modify the .csproj file manually to include the flag. Close your Visual Studio solution and open the .csproj file any text editor of your choice and add the following element to project properties.
<TypeScriptExperimentalDecorators>true</TypeScriptExperimentalDecorators>
Here is a screenshot of the cs proj file

without this you might see the following errors in you TypeScript files.

Adding Angular2 & SystemJS Modules.
To install Angular2 navigate to you project folder from command prompt and install the following npm packages.
- angular2 - Angular 2 library.
- systemjs - an opensource library for module loading.
npm install angular2 systemjs --save --save-exact
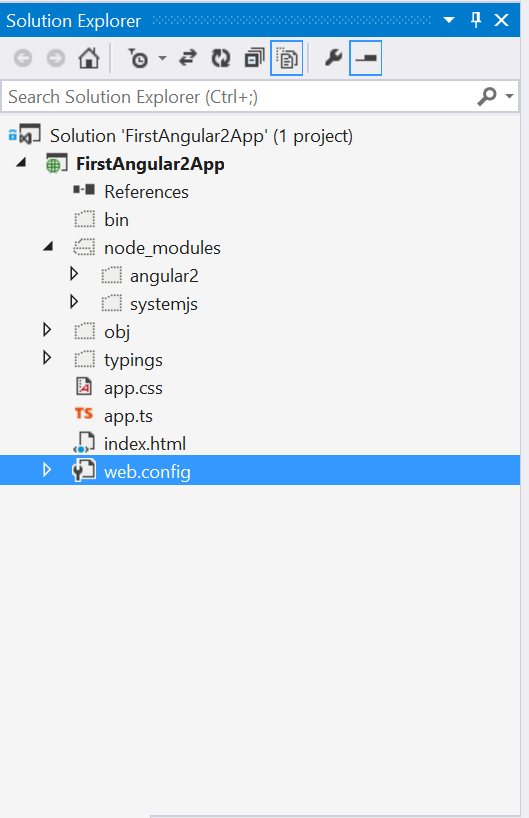
If you click on Show All Files in Visual Studio solution explorer, node_modules folder should be visible with folders for the angular2 and systemjs.
With all necessary dependencies installed let start writing our application.
The Application Component
We will be creating a simple contact manager app which displays the contact name, email address and contact number. Modify the contents of app.ts file to the listing below.
/// <reference path="node_modules/angular2/bundles/typings/es6-shim/es6-shim.d.ts" />
/// <reference path="node_modules/angular2/bundles/typings/angular2/angular2.d.ts" />

import {Component, View, bootstrap} from "angular2/angular2";

@Component(
    {

        selector: 'contact'
    })
@View({
        templateUrl: 'Contact.html'
})

class Contact {
    name: string;
    email: string;
    phone: string;
    constructor() {
        this.email = 'John.Doe@gmail.com';
        this.name = 'John Doe';
        this.phone = '1-800-GOOG';
    }
}

bootstrap(Contact);
Add a html file to your project and name it Contact.html. Modify the contents as below.
<div class="container">
    <div>
        <label for="name">Name:</label>
        <span>{{name}}</span>
    </div>
    <div>
        <label for="name">Name:</label>
        <span>{{email}}</span>
    </div>
    <div>
        <label for="name">Name:</label>
        <span>{{phone}}</span>
    </div>

</div>
This is a very simple component but let us look at some interesting things going on here.
TypeScript Definition Files
The first two lines of the app.ts are references to typed definition files. Typed Definition Files expose the public API of the a library (in this case Angular2) and are used by the compiler to resolve references for external modules. In our case we are using the @Component, @View and bootstrap modules declared in angular2.d.ts file.
Importing Modules
In the next line we are importing external modules required by our component. In Angular2 you are required to import any dependencies you need to build your component and not included by default. If you look at the angular2.d.ts file located in node_modules\angular2\bundles\typings\angular2 folder, you will notice that Component, View and Bootstrap are exported externally as angular2/angular2 module.
A basic Angular2 component consists of 3 parts
1) Component annotation
2) View Annotation
3) Classes
Classes
The Contact class defined is essentially our controller with defined properties. It has been defined using TypeScript and had three defined properties of name, email and phone. The constructor of the class initialized the name, email and phone properties which will be populated on our view.
Annotation/Decorators
The annotations are ways of adding meta-data to the class and will be used by Angular to find and load our component into the DOM . In this case @Component defines a selector (<contact></contact>) and replaces it by the View defined in @View annotation.
View & Databinding
The view defined in our component is Contact.html. If you notice the listing for contact.html you will notice that the all the curly braces{{ }} are used for data-bindings to the component properties. The data-binding expressions will resolve to the class properties.
Bootstrapping
The final thing is to bootstrap our application. Angular will now know which component to use and will load the component into the element that matches our selector in DOM.
HTML File
Modify the contents of index.html file as follows.
<!DOCTYPE html>

<html lang="en">
<head>
    <meta charset="utf-8" />
    <title>First Angular App</title>
    <link rel="stylesheet" href="app.css" type="text/css" />

    <script src="node_modules/systemjs/dist/system.js"></script>
    <script src="node_modules/angular2/bundles/angular2.js"></script>
    <script src="app.js"></script>

</head>
<body>
    <script>
    System.import('app.js');
    </script>

    <h1>TypeScript HTML App</h1>

    <div id="content">
        <contact></contact>
    </div>
</body>
</html>
Few points to notice here
- If you notice here we are referencing the js files and not the .ts TypeScript files. The TypeScript files are required when compiling the project but we need references to the js files in our HTML.
- The TypeScript compiler will generate an app.js file from the app.ts typescript file referenced on our page.
- In addition we are referencing the angular2.js and system.js files in our page.
- We are calling the System.import method to register our angular component. During the registration process Angular2 will bootstrap the application by loading the component into the specified selector.
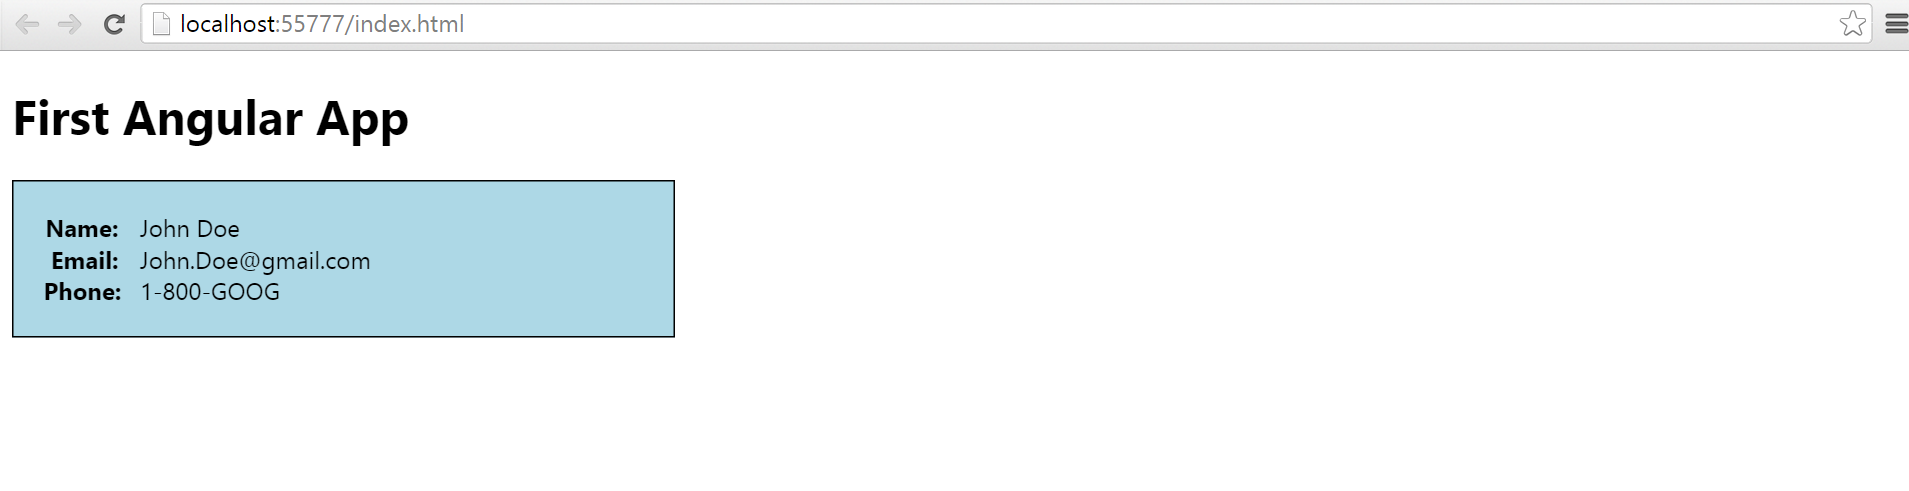
Running Application
Now when you run the application you should see the following in your browser
.
History
Initial Draft- 11/29/2015