
3 Simple Steps to Create a Visual Web Part in SharePoint
3.82/5 (23 votes)
What is a Web Part? SharePoint Web Part is basically a reusable component designed for a particular task and can be easily added to a SharePoint page for customization/personalization. But for me as a developer, its a user control that is deployed at Site Collection level so that all sites under the
What is a Web Part?
SharePoint Web Part is basically a reusable component designed for a particular task and can be easily added to a SharePoint page for customization/personalization. But for me as a developer, its a user control that is deployed at Site Collection level so that all sites under the site collection can reuse it.
Types of a SharePoint Web Part?
There are two types of Web Parts in SharePoint:
- Standard/Traditional Web Part
- Visual Web Part
The primary difference is that visual web part has the flexibility to drag and drop items on our canvas giving us a designer experience. While standard web part doesn’t have that flexibility and we have to manually do the coding stuff. There are other important differences between the two types of web parts but we are not going into that much details here. For detailed difference, you can visit Microsoft Online MSDN here.
Purpose:
In this article, we will learn how to create Custom Visual Web Part using Visual Studio? and further how to add data from Visual Web Part to a SharePoint list?
Pre-Requisites?
- SharePoint 2013
- Visual Studio 2012
Step 1: Creating a Custom List in SharePoint Site
- Create custom list “Employee” in your SharePoint site.
- Add following columns in newly created list.
- Name
- Phone No
- Address
We already have discussed and implemented two simple ways to Create a Custom List in SharePoint 2013 in previous article on Code Project here.
Step 2: Creating a Visual Web Part
- Create a new Empty SharePoint 2013 Project.
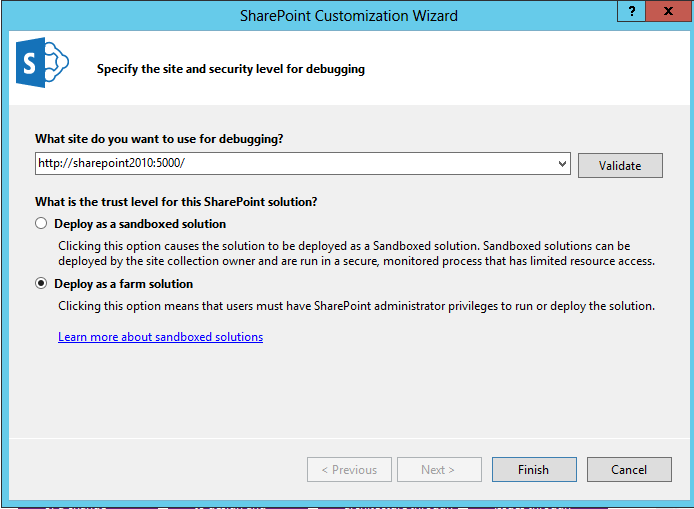
- Provide SharePoint site URL, where you want to deploy your solution and select “Deploy as a farm solution” option.
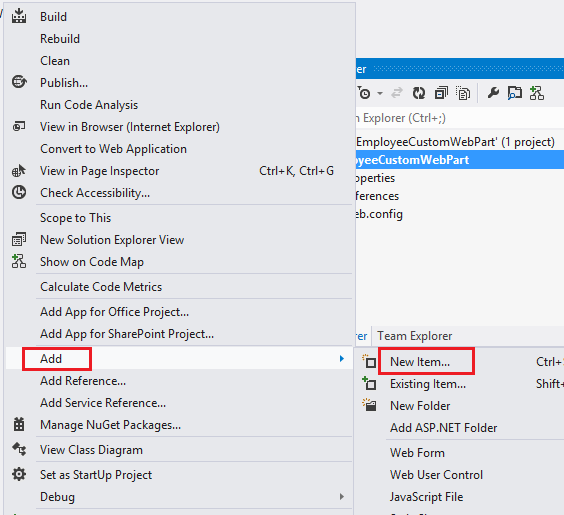
- Now, Right Click the Project, then Select “Add” and click the “New Item” link in the context menu.
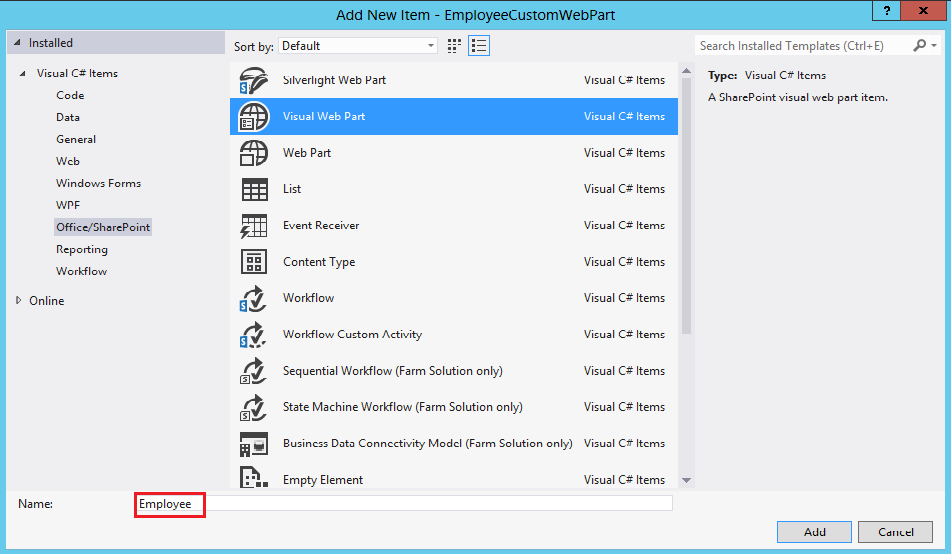
- This invoke the “Add New Item” window. In the “Visual C# Section” Templates, select “Visual Web Part”.
- Provide a name for the Visual Web Part and click “Add” button to add it to the SharePoint Project.
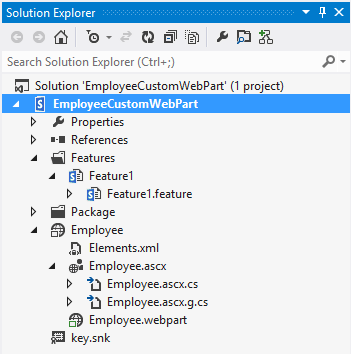
- This will add a new Site Collection scoped Feature to the SharePoint project along with the newly added Visual Web Part. This WebPart will be automatically added to the feature. This you can find out by double clicking the feature file.

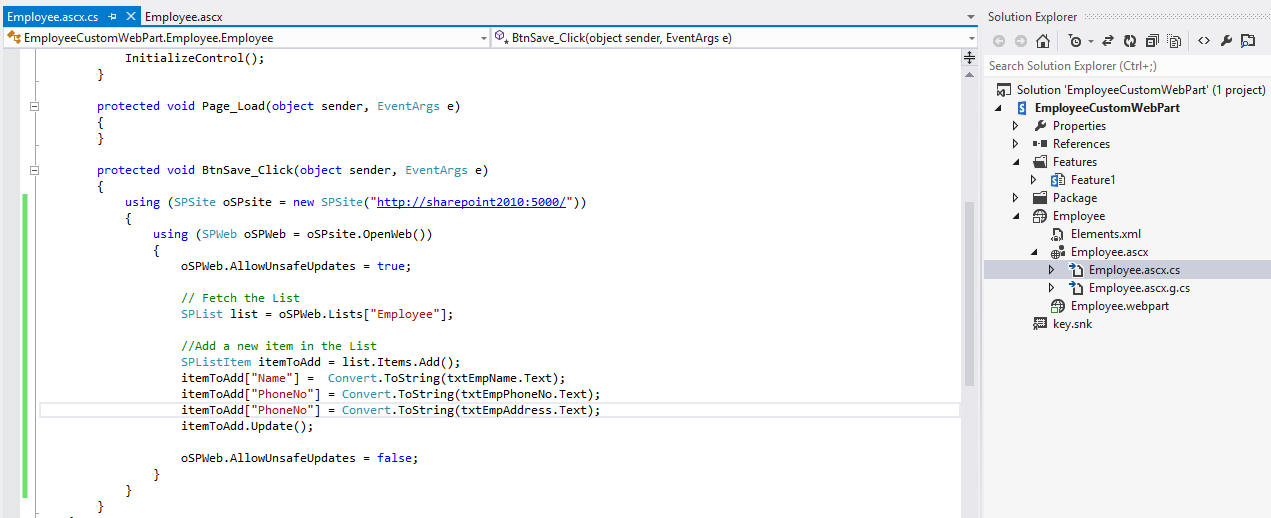
- Double Click the .ascx file created in Step 5. Add controls that are required for Visual Web Part by expanding the Toolbox pane available in the left hand side of Visual Studio.

- Double click the Save button, it will open .cs file. Add following code in button click event.
- Now, right click the solution and click on Deploy option.
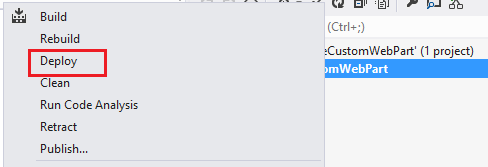
- This process will deploy solution on the SharePoint site and add your custom web part in web part gallery.
We have successfully created and deployed a simple Visual Web Part using SharePoint 2013. But more useful Web Parts can be developed to simplify specific organizational needs. There are many built-in Web Parts available in SharePoint like Chart Web Part, Content Query Web Part etc.
Also, we can have a Custom Web Part that can read data from several data sources and present in more helpful way with multiple views. SharePoint Calendar Web Part is an excellent example that shows all events from different data sources including Exchange, SharePoint List, Google, SalesForce, SQL Table or XML and further present in multiple views. Let’s follow the step 3 to add our Web Part to a Page.
Step 3: Add Web Part to the Page
- To add the newly created webpart which we have developed, Open the page and click on the edit page option. From the insert tab, select webpart icon. Choose the custom webpart which we have deployed from custom category and click on Add button.
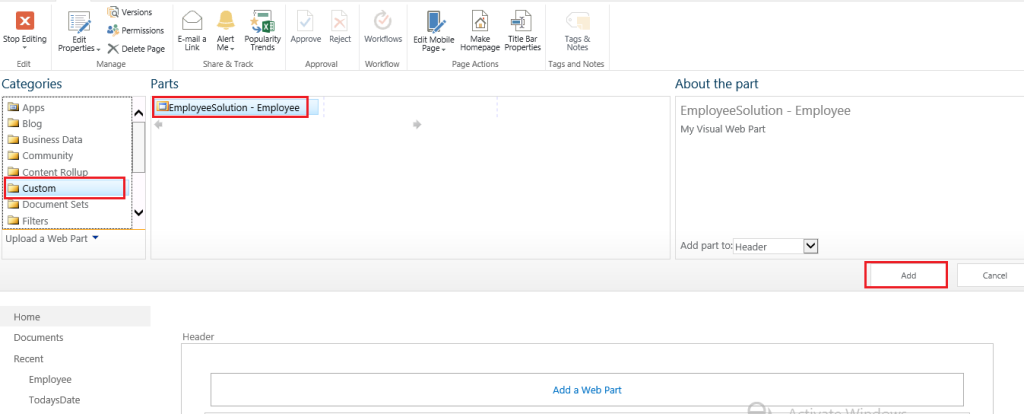
- It will add custom web part on the SharePoint site.

- Now fill-up all information and click on save button. This information will be save in SharePoint ‘Employee’ list.
Hopefully, we understand now that how simple is to create a Visual Web Part in SharePoint 2013 and use it in our pages.
The post 3 Simple Steps to Create a Visual Web Part in SharePoint appeared first on SharePoint For Dummies.