Introduction
The next stage is to actually print something. That's surprisingly untraumatic.
First, I printed the sample that came with it - to prove the machine works rather than because I wanted a small pair of plastic owls.
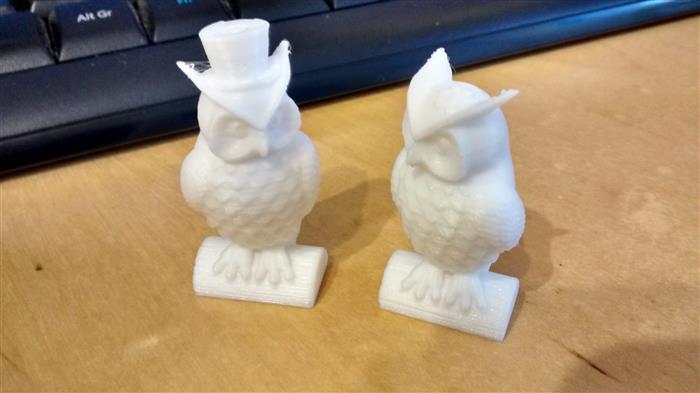
And I'm quite impressed, the detail is quite fine and it prints well. They are a little "whispy" at the top, but a light trim and a little more bed leveling should fix that.
Slicing
But the samples are just that: a pregenerated GCODE file on the SD card. To print something I made, I need more software: a slicer.
The printer recommends Cura, so off I go: Ultimaker CURA 4.0
It's free, and the installation is painless - and it knows about the machine I bought so I don't have to add machine parameters. Bonus.
Knock up something small in Fusion:

Just a little box with my moniker on it!
Getting to the slicer is easy: File menu in Fusion:
Select "3D Print".
Check "Send to 3D Print Utility", and choose "Cura" from the dropdown (in theory, I can do all this inside Fusion with an addon, but ... little steps.)
Cura opens, loads the file:
Click "Slice", and moments later:
It's ready to save to card (Again, I could do it via USB, but ... little steps, little steps.)
Card into machine, "Print" and wait a while:
The text looks blurred because I ran over it with a permanent marker and then quickly sanded off the worst of the overspill. I also only extruded it as a 0.5mm cut which is a little shallow; I think I sanded off a little too much on one side - I'd go for 1.0mm or more next time, and probably see if I could do a "V" cut which would probably work better.
Given that I made it 20mm x 20mm x 20 mm, with a 1mm wall thickness, it's pretty solid, even in PLA.
So ... Conclusions on First Attempt
Get familiar with your CAD tool - and my opinion of Fusion 360 has done a 180o turn in just a morning, it's a powerful tool that is equally easy to use when you get your head round it - and this isn't as difficult as I thought: at least not for small, relatively simple objects.
Now for the big one: the Sous Vide cover. And that'll wait for Part 3 ...
Other Parts
History
- 2019-09-18: Updated to revised series part names, fixed a couple of typos and spelling mistakes
- 2019-09-17: Added Part 1 link
- 2019-09-17: First version
Born at an early age, he grew older. At the same time, his hair grew longer, and was tied up behind his head.
Has problems spelling the word "the".
Invented the portable cat-flap.
Currently, has not died yet. Or has he?


 General
  News
News  Suggestion
  Question
  Bug
Bug  Answer
  Joke
Joke  Praise
  Rant
Rant  Admin
Admin 


