Introduction
This article describes the step by step process of creating project template in Visual Studio 2012 and VSIX installer that deploys the project template. Each step contains an image snapshot that helps the reader to keep focused.
Background
A number of predefined project and project item templates are installed when you install Visual Studio. You can use one of the many project templates to create the basic project container and a preliminary set of items for your application, class, control, or library. You can also use one of the many project item templates to create, for example, a Windows Forms application or a Web Forms page to customize as you develop your application.
You can create custom project templates and project item templates and have these templates appear in the New Project and Add New Item dialog boxes. The article describes the complete process of creating and deploying the project template.
Using the Code
Here, I have taken a very simple example which contains nearly no code but this can be extended as per your needs.
Create Project Template
First of all, create the piece (project or item) that resembles the thing you want to get created started from the template we are going to create.

Then, export the template (we are going to use the exported template as a shortcut to build our Visual Studio template package):

Visual Studio Project Templates
We are creating a project template here.

Fill all the required details:

A zip file should get created:

Creating Visual Studio Package Project
To use VSIX projects, you need to install the Visual Studio 2012 VSSDK.
Download the Visual Studio 2012 SDK.
You should see new project template “Visual Studio Package” after installing SDK.

Select C# as our project template belongs to C#.

Provide details:


Currently, we don’t need unit test project but they are good to have.

In the solution, double-click the manifest, so designer opens.

Fill all the tabs. The most important is Assert. Here you give path of our project template(DummyConsoleApplication.zip).

As a verification step, build the solution, you should see a .vsix being generated after its dependency project:

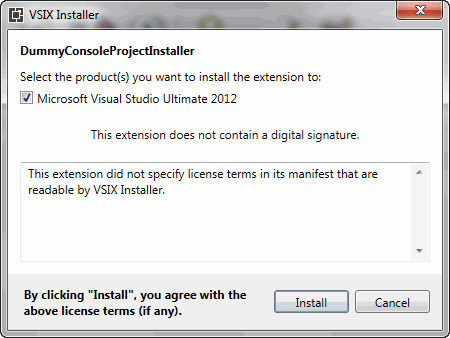
Installing the Extension


Project template is located under “Visual C#” node.

Uninstalling the Project Template

References
History
